
Hair Tips - July 27, 2018
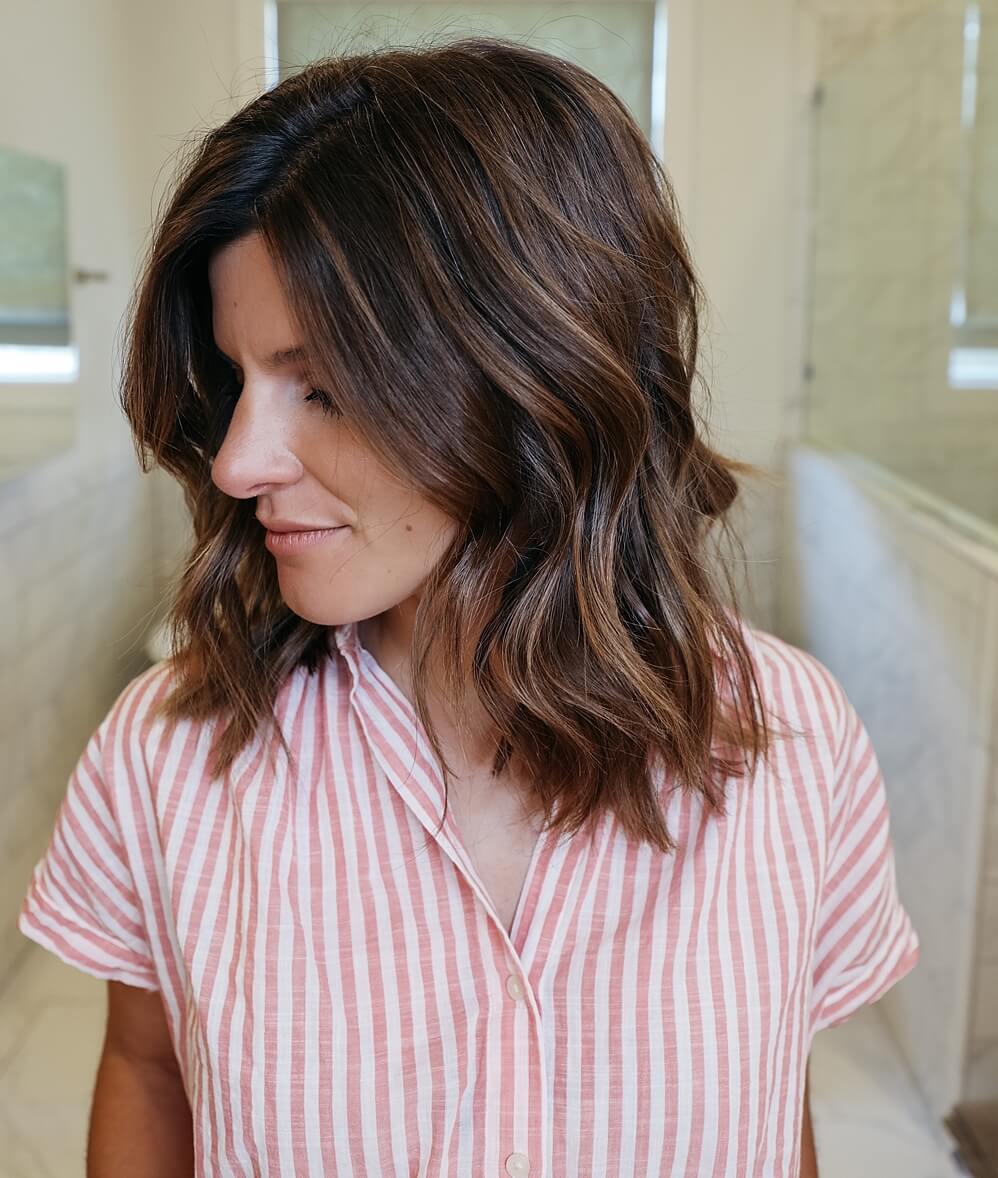
How I Do My Loose Waves
Ever since I cut my hair, I haven’t really experimented with it much. I usually just round brush it dry, maybe do a little velcro-roller action, and then I’m done. But when I was at the beach last month with my friend Liz, she told me she is obsessed with her Beachwaver and inspired me to try mine. I’ve actually had this bad boy in my bathroom for almost 2 years now and had never used it! But I finally tried it and now I’m a huge fan! It’s the tool I’ve been using to get those loose beach waves I’ve been wearing lately, and it’s actually really easy. And I’m not just saying that – it literally does most of the work for you.
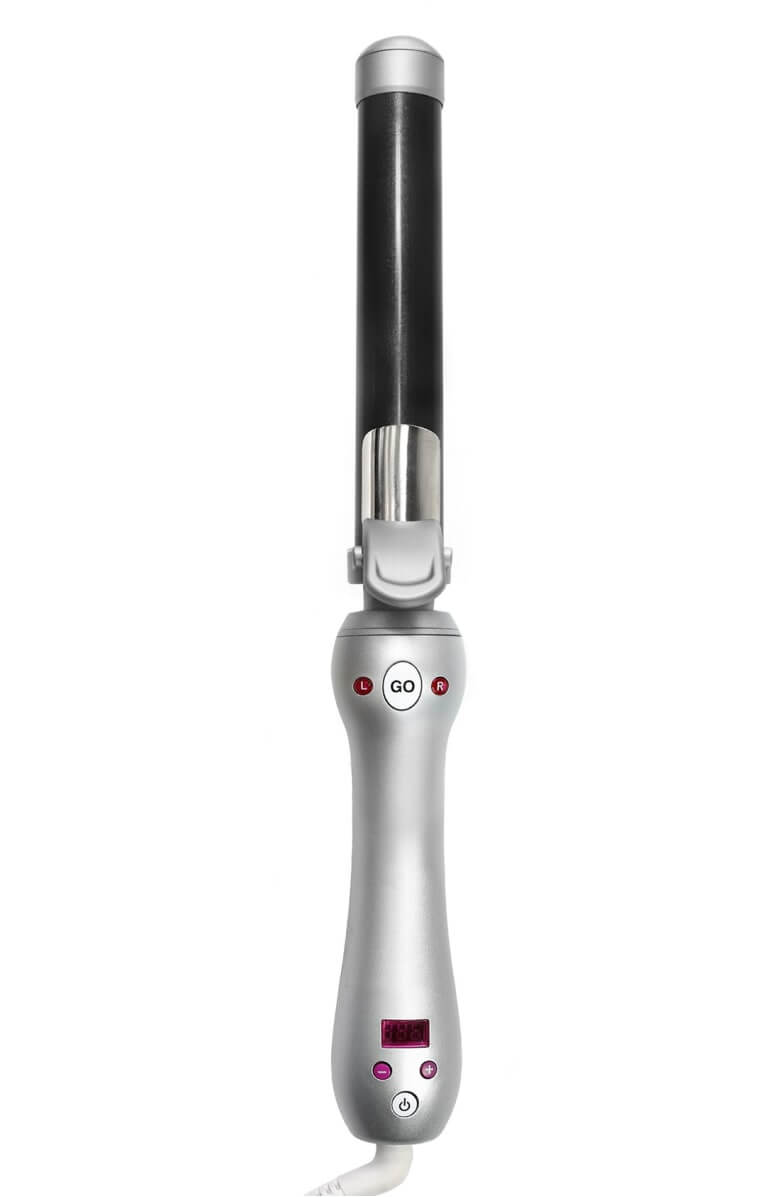
Beachwaver
Y’all ask me tons of questions about my beach waves, and this right here is the secret. If you’re not great at doing your hair, I’ve even created a tutorial using this product which you can see here. But I promise, this product does most of the work.
I wanted to put together a quick tutorial for y’all in case you haven’t attempted loose waves before using the Beachwaver. Or if you have tried, but you haven’t been able to get the look you’re going for. Once you do this tutorial a few times, it gets really easy!
Step 1: Spray for texture. This tip is especially important if you wash your hair daily because your hair will need texture to hold onto a curl. If my hair is dirty, I’ll use dry shampoo to not only get rid of grease but it also gives hair extra texture. I also love using the Living Proof Body Builder Spray if my hair is just a day or two greasy – that stuff is the best. Flip your head over and spray spray spray.
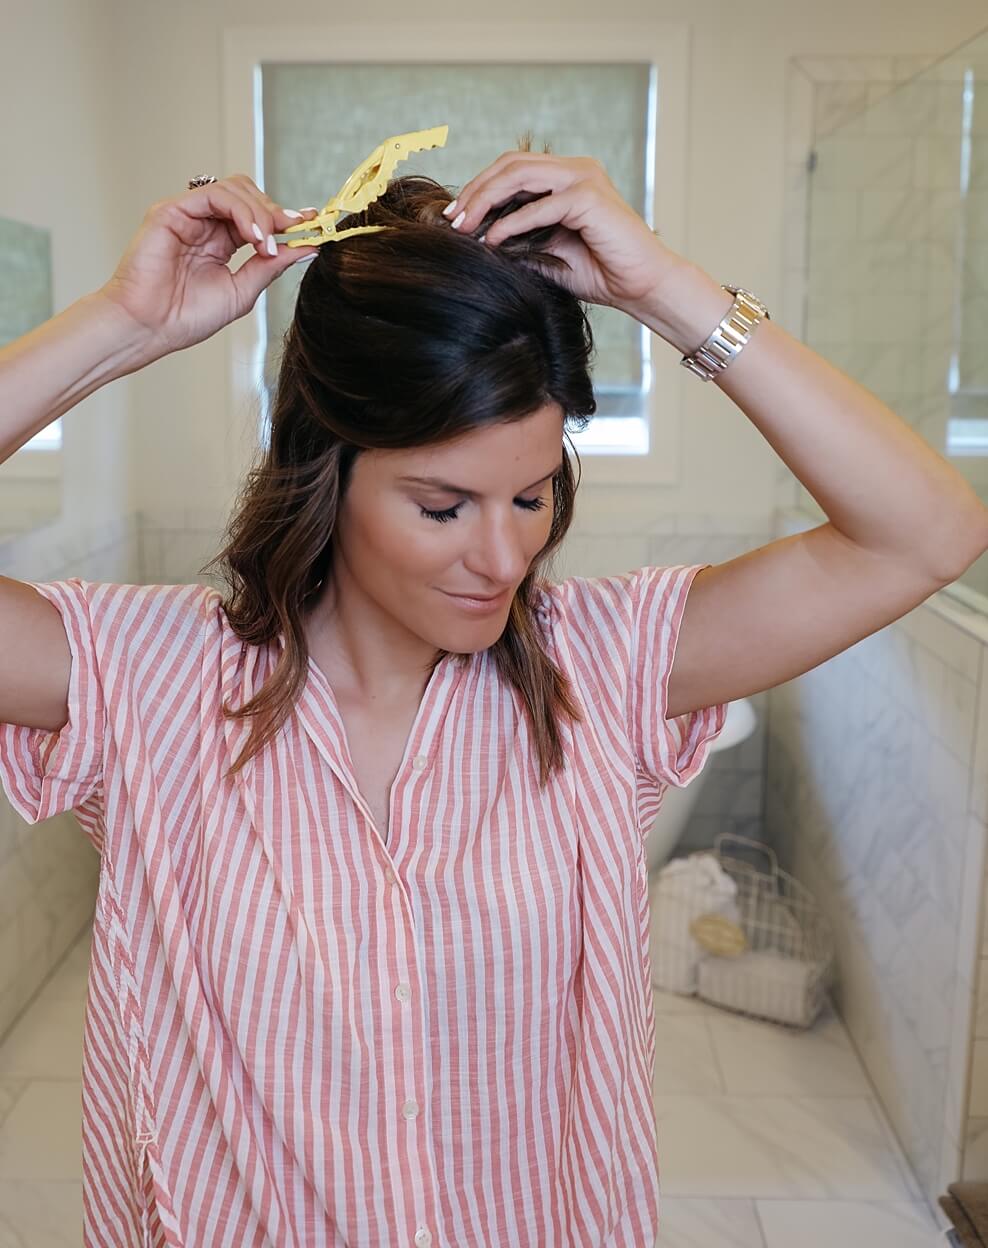
Step 2: Section your hair. I like to section mine into three. I put most of my hair in one clamp at a time (love these clamps!) and basically pull out a layer at a time from the bottom/sides. Once I have those pulled down, I pull one side to the left of my neck and one to the right (still with most of my hair on the top of my head in the third section). You’ll notice that as we go, I do a layer by layer, and it usually takes me 3 times of re-sectioning. It’ll depend on how much hair you have, but I find that going layer by layer adds more body.
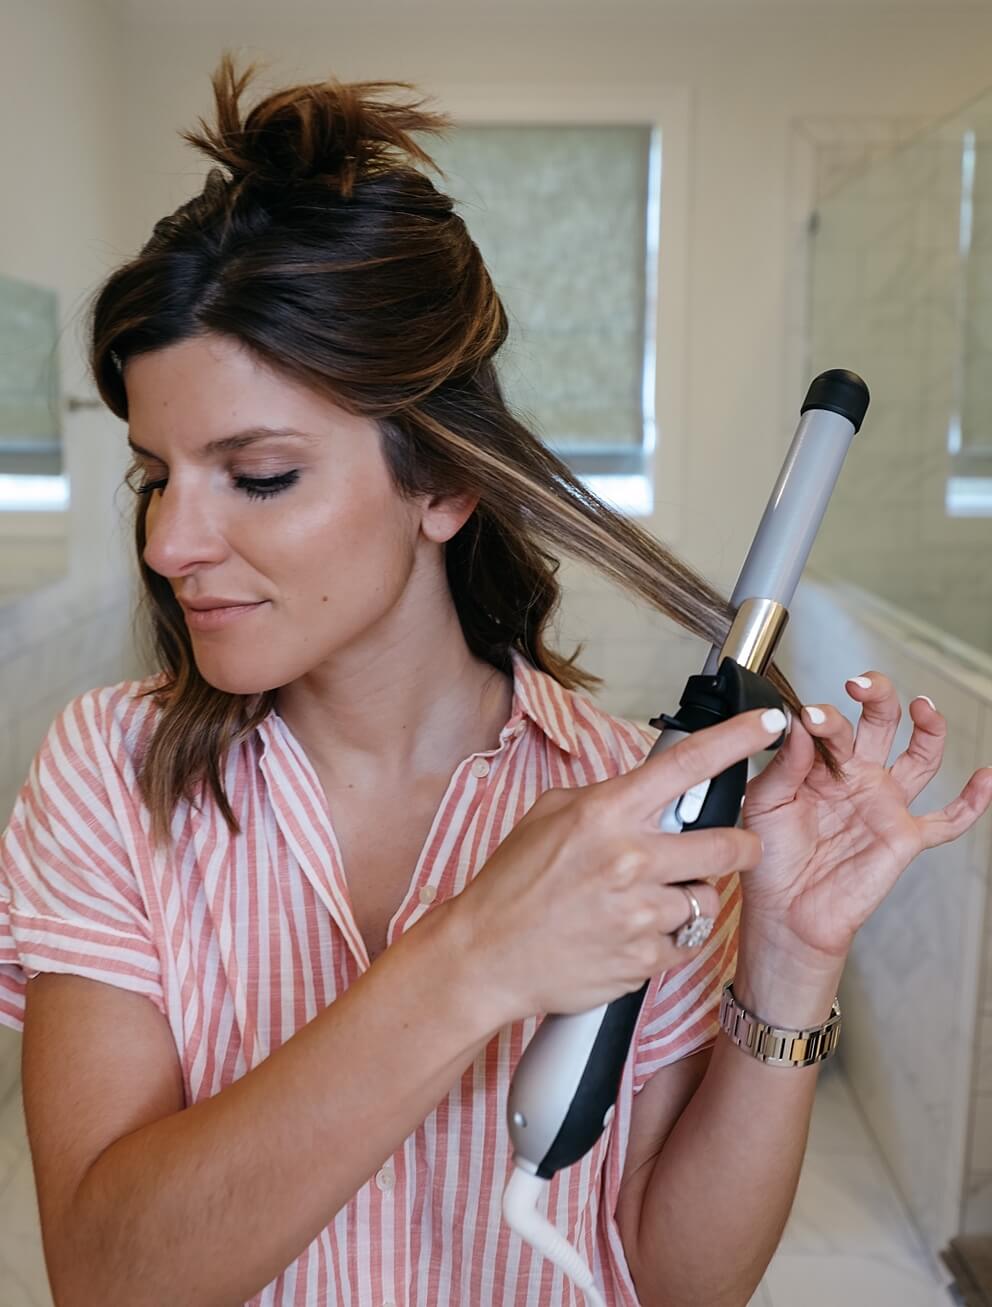
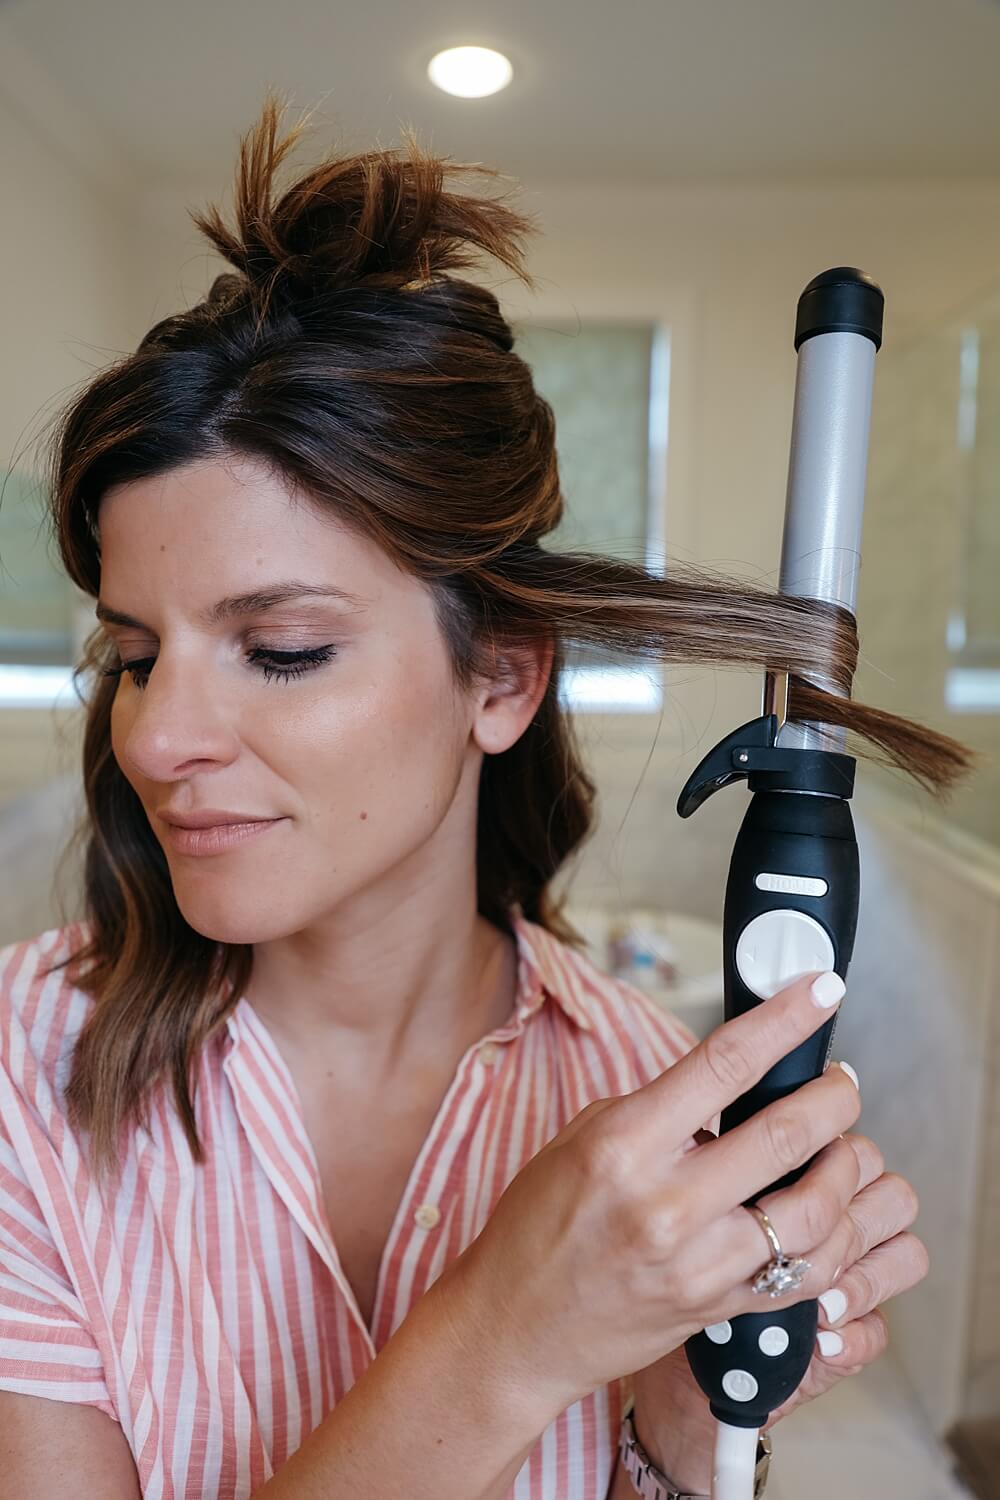
Step 3: Time to curl! Grab one of the two sections around your neck and start there. Grab 1″ sections at a time. If you’re using the Beachwaver, you’ve gotta start at the bottom – that’s how the tool works. I like to leave about an inch of the bottom of my hair out of the curling process, so I clamp an inch up from the bottom. Then, press the left arrow on the Beachwaver and it’ll do its thing. Couple other tips that are helpful for this type of beachy look:
Start with the back of your head and move to the front. This helps you see what you’re doing and what pieces you might be missing.
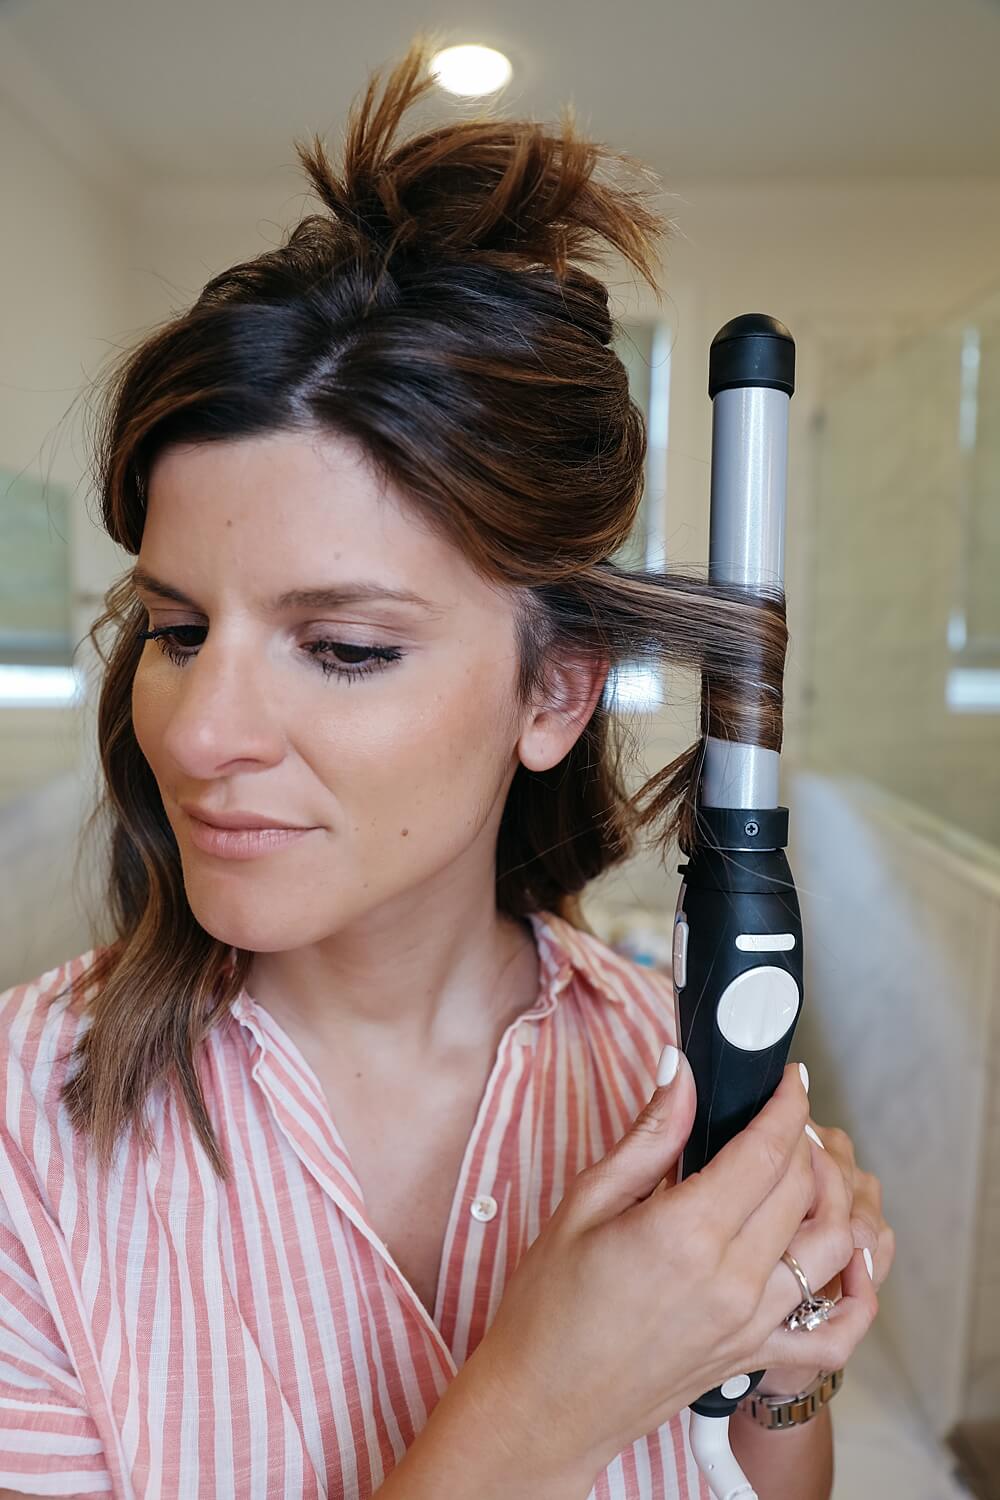
The key for this look is to curl AWAY from your face – very important! And also, make sure you’re leaving out an inch or so at the ends so you can get that laid-back look.
Hold the curl for about 4-5 seconds per inch of hair.

Then let it out and if you have time, allow it to cool for a minute before moving onto the next section!
Keep repeating this on both sides until each layer is curled.
Step 4: Re-section & keep curling. Let out another layer of hair from the top of your head. Repeat curling like this until you’re at the final section of your hair (aka the top layer).
Step 5: Final part. Once your top layer is left, part it where you want to part your hair (which for me is usually a deep side part). This is how I see the most volume. Curl your top layer away from your face, again moving from back to front.
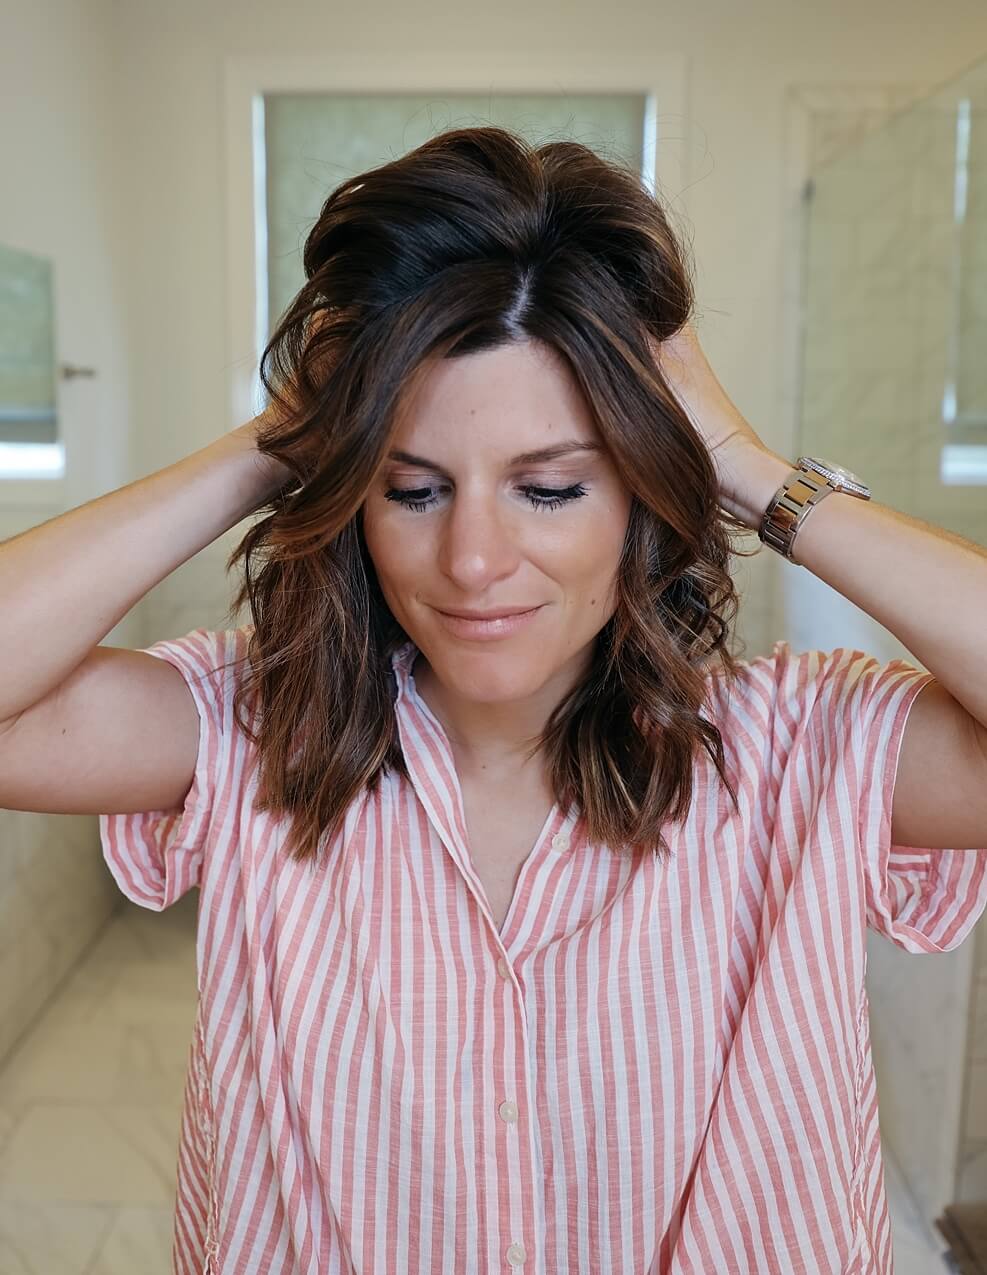
Step 6: Spruce things up. By this point, all your hair should be curled, so it’s now time to spruce things up. I take my fingers or a wide-tooth comb and brush through my entire head. This is what gives you those effortless waves and kinda messes things up in a good way.
Step 7: Reassess. Re-curl any pieces that you might have missed, or the front again. I usually like to be a little more dramatic with my front pieces, so I’ll often go at them again.
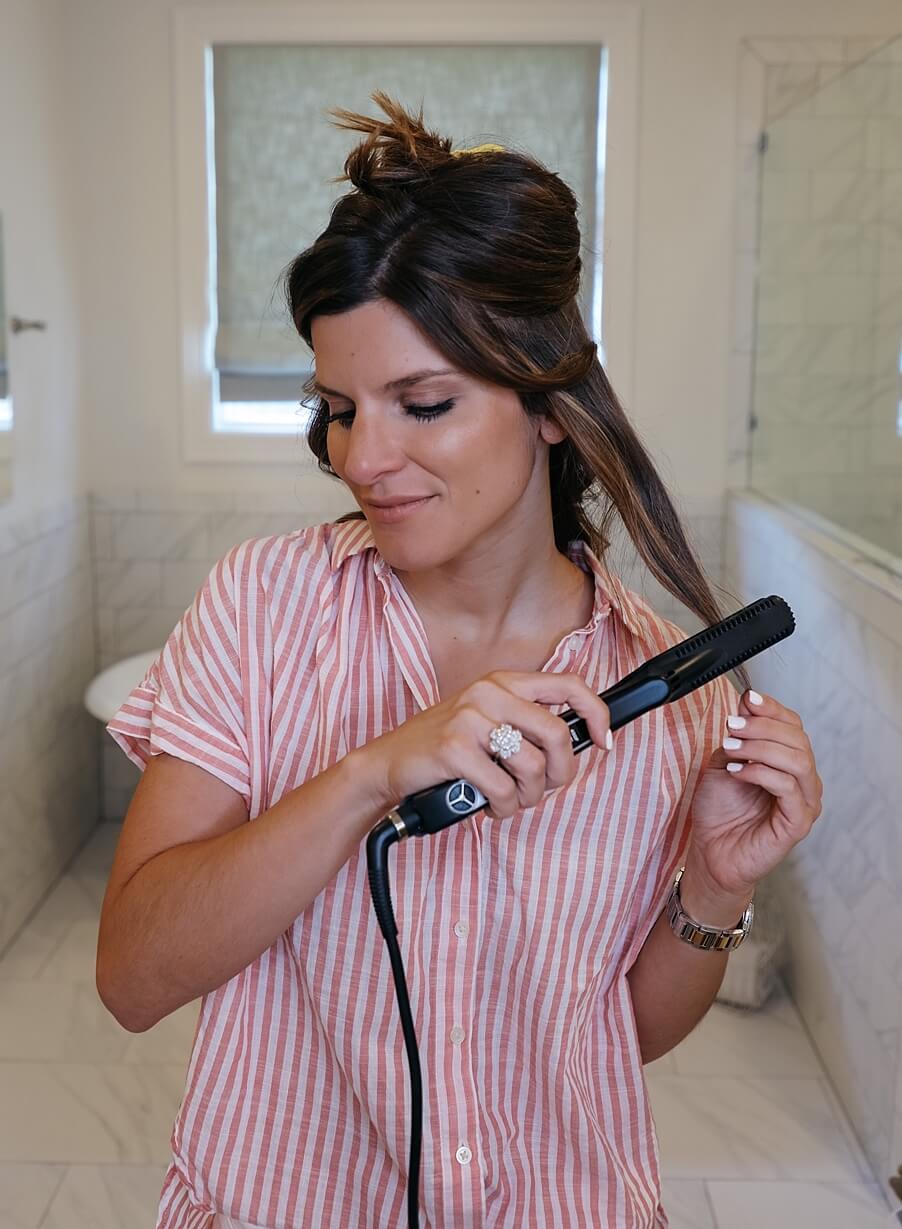
Step 8: Straighten (if necessary). If any curls are too crazy (aka too curled), quickly run through those sections with a straightener. Then, straighten the bottom inch of your hair if you accidental curled them. I don’t always do this step – it just depends on the job I did.
Step 9: Finishing spray and scrunch! Now, it’s going to depend on what type of hair you have, but I don’t personally use hair spray when doing these loose waves. After all, they’re supposed to be loose and effortless. If your hair really sucks at holding curl, you might want to spray a little, but try it without first. I just finish with more texturizing spray and kinda use my hands to pick through pieces that are too thick – to make things more piecey.
And that’s it! Hopefully seeing it laid out was easy for y’all. Let me know if you have any questions in the comments. I’ll also link all the products I love for this look below.
Shopping Details:

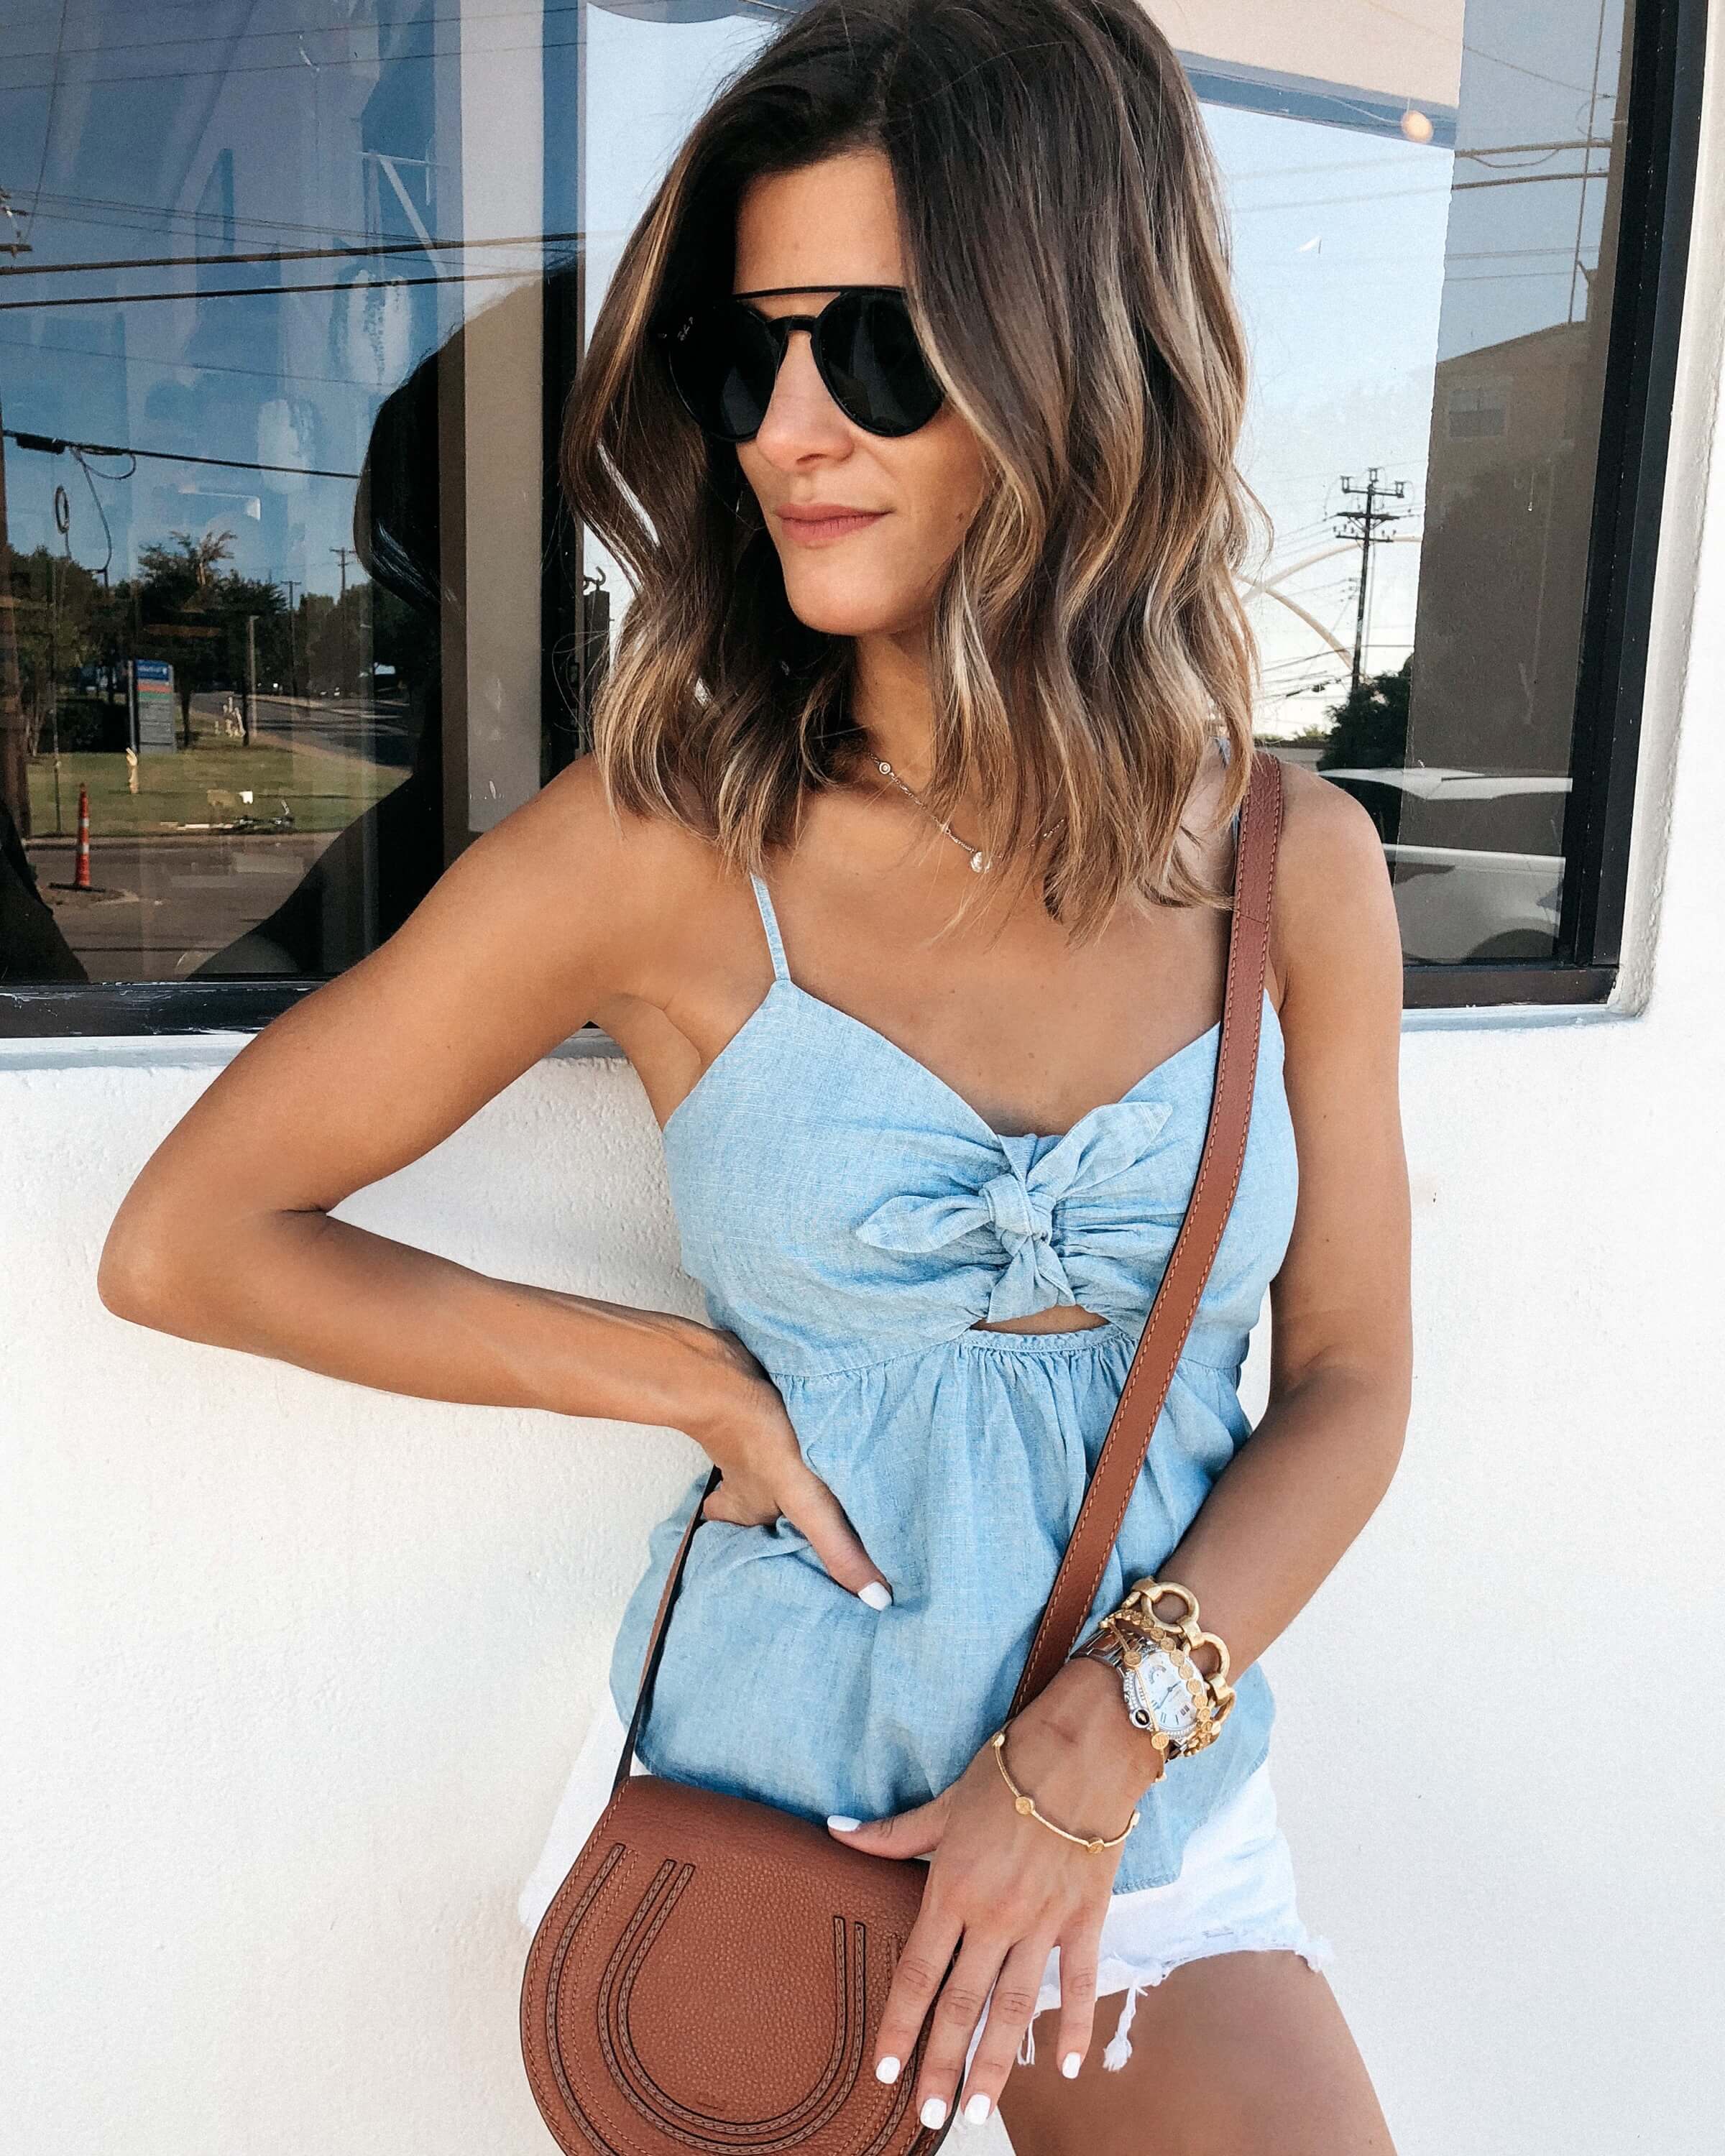
It’s getting to be that time in Dallas where I literally cannot even handle putting in pants. So that means I’m either wearing a loose-fitting dress (like this one!), denim shorts, or workout clothes. I was worried about getting too hot in this dress since it has sleeves, but it was perfect because they’re drapey. Plus, the material of this dress is super airy, which I appreciated!

Brighton Your Day
Get exclusive content, sale items, and lots of fun stuff, straight to your inbox!
Share Story:
Join the Conversation
0 / View All