
Organization - February 8, 2017
How to Organize Your Kitchen
A few weeks ago, I Snapchatted about how I was NERD-ing out and spent a solid 2 hours researching kitchen (and specifically cabinet) organization hacks, tips and tricks. As most of you all already know, I just moved into a new house and I’ve been spending this month getting unpacked and settled – slowly but surely.
I’ve never had a “real” kitchen of my own with enough storage for everything AND the freedom to make changes and drill holes. In the past, I’ve always rented, so it always sort of felt like a temporary solution until I really got settled. I never invested in good kitchen stuff either because between my roommates, we were always able to provide the basics. So for the first time ever, I’m actually getting kitchen stuff…that will MATCH.
I don’t know about you, but this really freaking excites me!

How To Organize Your Kitchen: Assess and clear
As I was unpacking what I actually did own (not much – ha!), I realized that I’ve never actually thought about “where” to put all this kind of stuff in a house. In the past, it’s always been sort of a hodgepodge. Like, wherever we put stuff when we each moved in is where it ended up staying – without much (if any!) thought put into it at all. But this time I wanted to put major thought into it. So before even starting to randomly throw things in cabinets, I did a few things that I wanted to share – these first steps were maybe the most helpful.
- Step 1: Start by Taking EVERYTHING Out: When trying to organize an area – or anything for that matter – it’s best to start from ground zero – or a blank slate. I know it’s no fun to think about taking this challenge on, but if you REALLY want to do it right, then you’ve got to go this route! So just bite the bullet and commit. For me, starting from ground zero was the case for me by default (since I actually didn’t have anything of my own – ha!). But if I were you, I’d set aside a Saturday or something so you can really clean everything out and get a fresh start! That’s right, you’ll need to empty everything out! Once you have everything emptied, keep these 3 ideas/tips in mind: (1) functionality is a priority, (2) avoid keeping too much stuff out on the counter and get in the habit of putting stuff up (in its designated place) after use, and (3) keeping like things with like.
- Step 2: Assess What You Have: As you start taking everything out of the cabinets and drawers (or boxes in my case), think about each item. Is it necessary? Is it old? Do I love it? And don’t stop until every single thing is out of your cabinets! Separate everything into 3 piles:
- It’s useful and in good shape. Leave these on your counter.
- It’s useful but old and needs to be replaced. Put these in a box, but don’t get rid of them yet (but you’ll eventually trash them).
- You’ll never use it (and be honest with yourself, we don’t all have to make pies to be good people lulz). Put these in a box and donate them.
- Step 3: Make A List – OK so once everything is out of your cabinets and drawers, grab a notebook and the box of “useful but needs to be replaced” items. Write down all of these items in your notebook so you know what you need to replace. Once the list is complete, trash the old items.
- Step 4: Measure and Clean The Space – While all of your cabinets and drawers are empty, give them a good wipe down. It’s pretty much the only time these areas really get cleaned – let’s be real here – and it’ll feel good to do so. If you want to put any material down to protect your cabinets or drawers, do so now. Measure each space. This is tedious but useful! This will help you when ordering or buying organizational pieces for your kitchen, or when you’re trying to figure out what size dishes will fit. Even if you’re not getting new dishes, this is useful to have.

How To Organize Your Kitchen: Breaking it down Into “Zones” by Function
OK, before we start putting things back in the empty spaces, take some time to assess the kitchen as a whole. Let’s group our cabinets/drawers into families or “zones” so to say. When thinking about how to do this, the way that makes the most sense is the group things by how you use them.
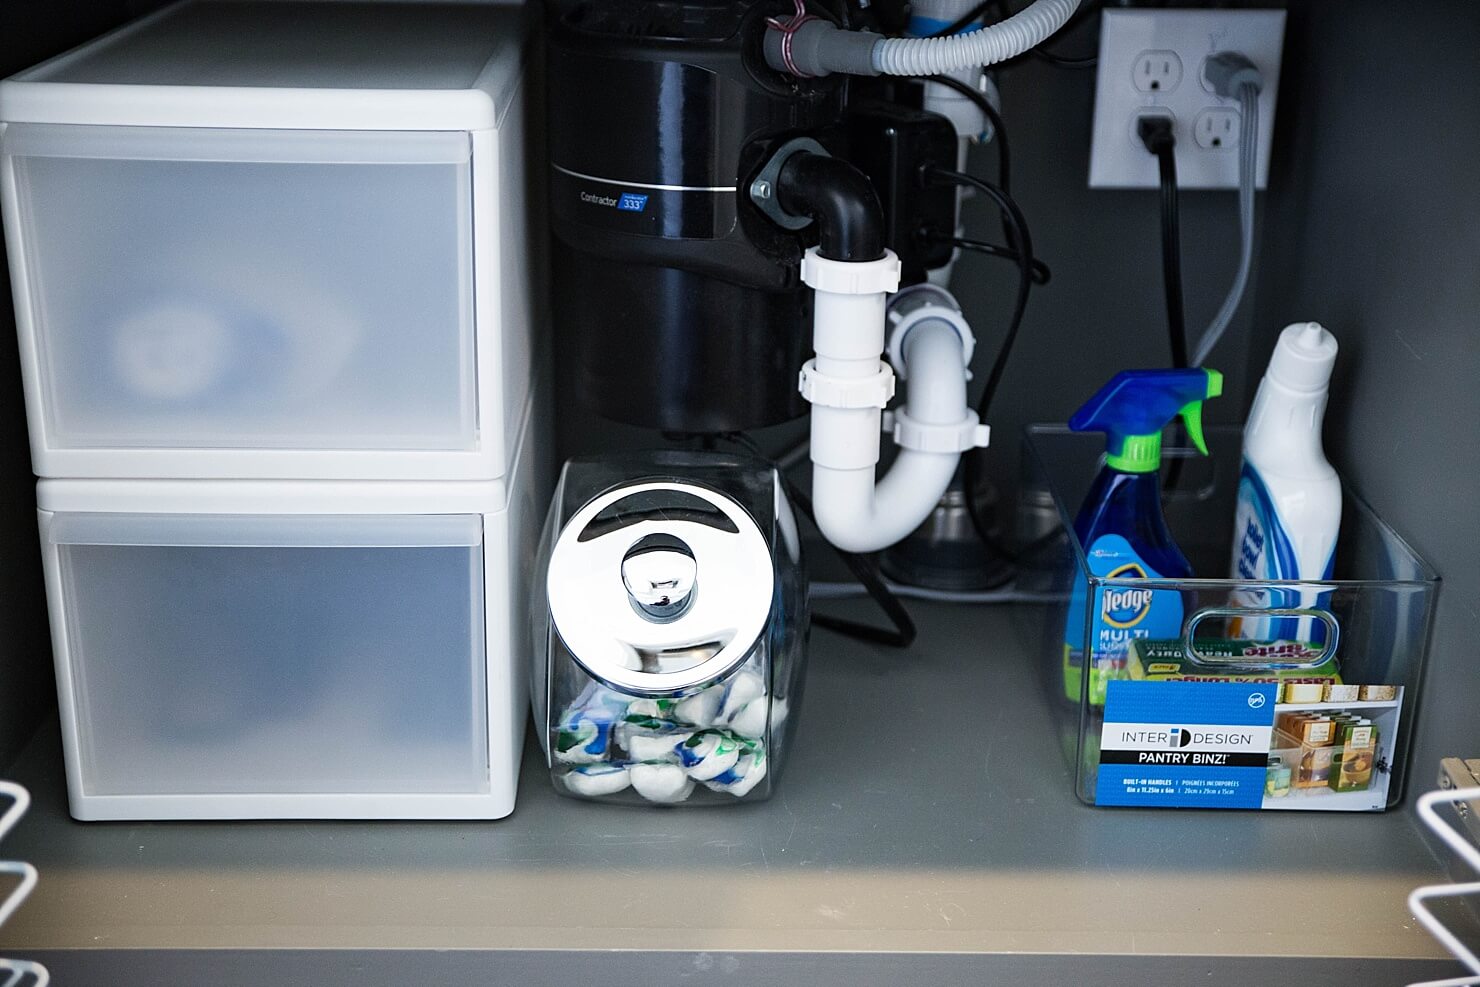
Zone 1: “Under the Sink” (dishwasher & sink)
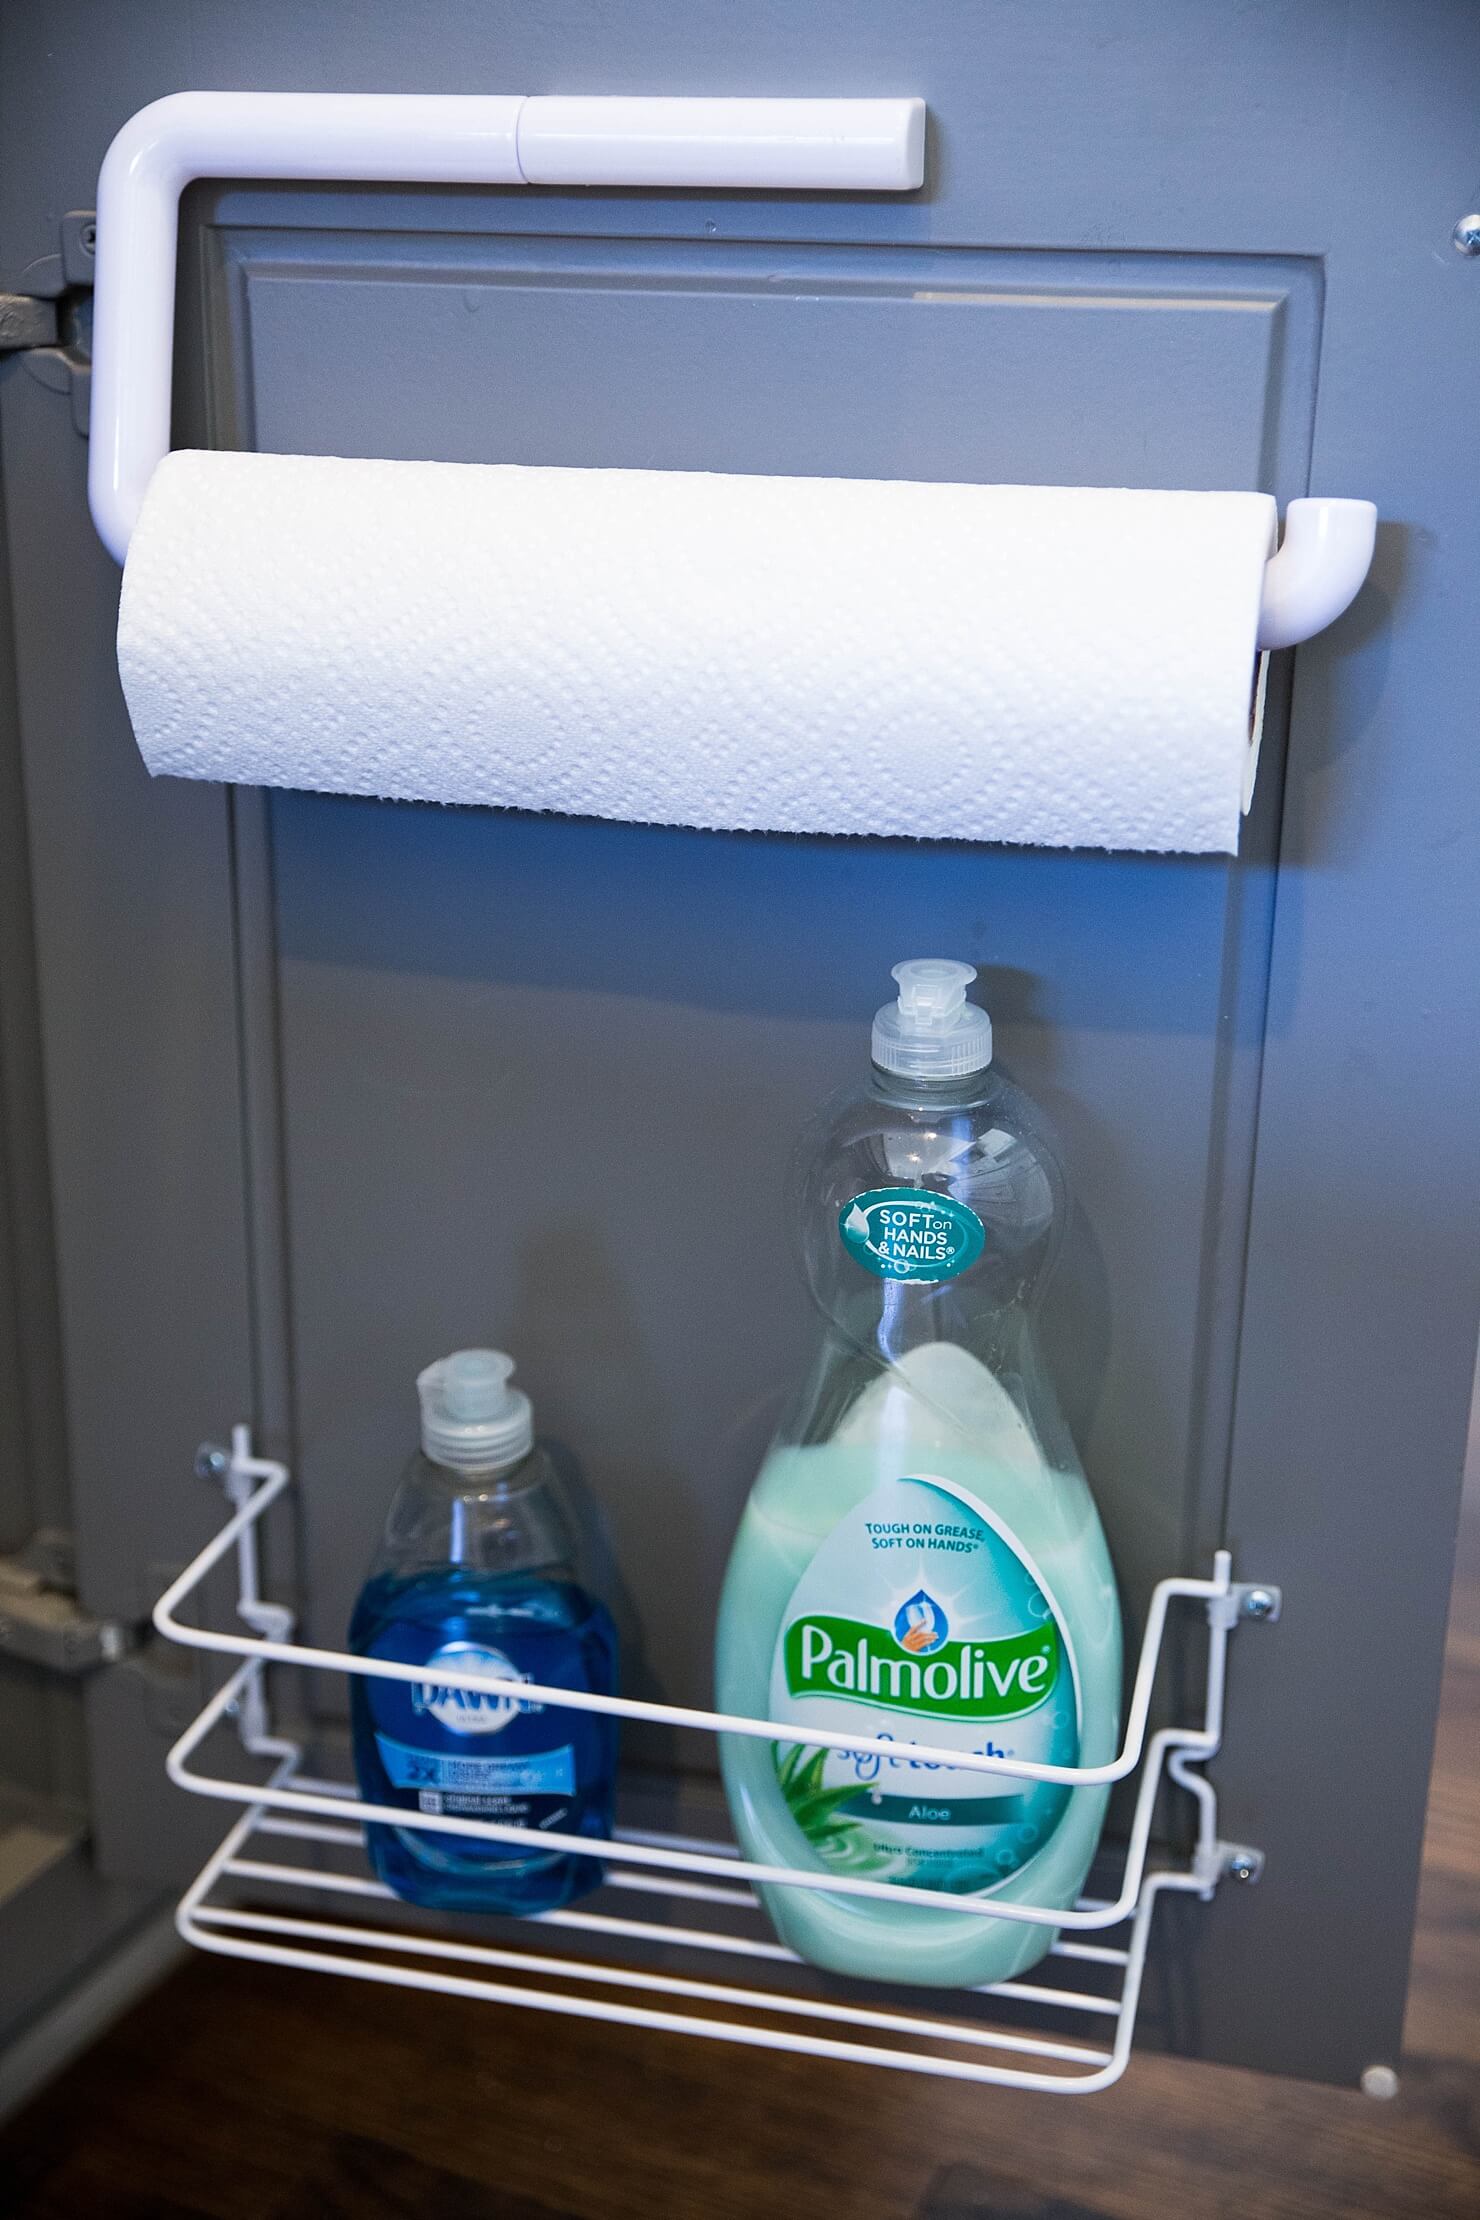
ITEMS: all things related to cleaning dishes & other miscellaneous cleaning supplies, e.g., sponges, dish washer soap, paper towels, soap-dispensing dish brush, dish rags, sink stopper, general purpose cleaner, Clorox wipes, extra hand soap, etc.
I feel like this topic or area alone could be its very own blog post; there are so many amazing hacks out there and genius ways to make the most of the storage space under your sink. But for the purposes of this post, I’ll keep it simple. When figuring out how to best organize this space, I considered what I use most while at the sink and tried to stick to ONLY keeping those things under the sink.
What I did:
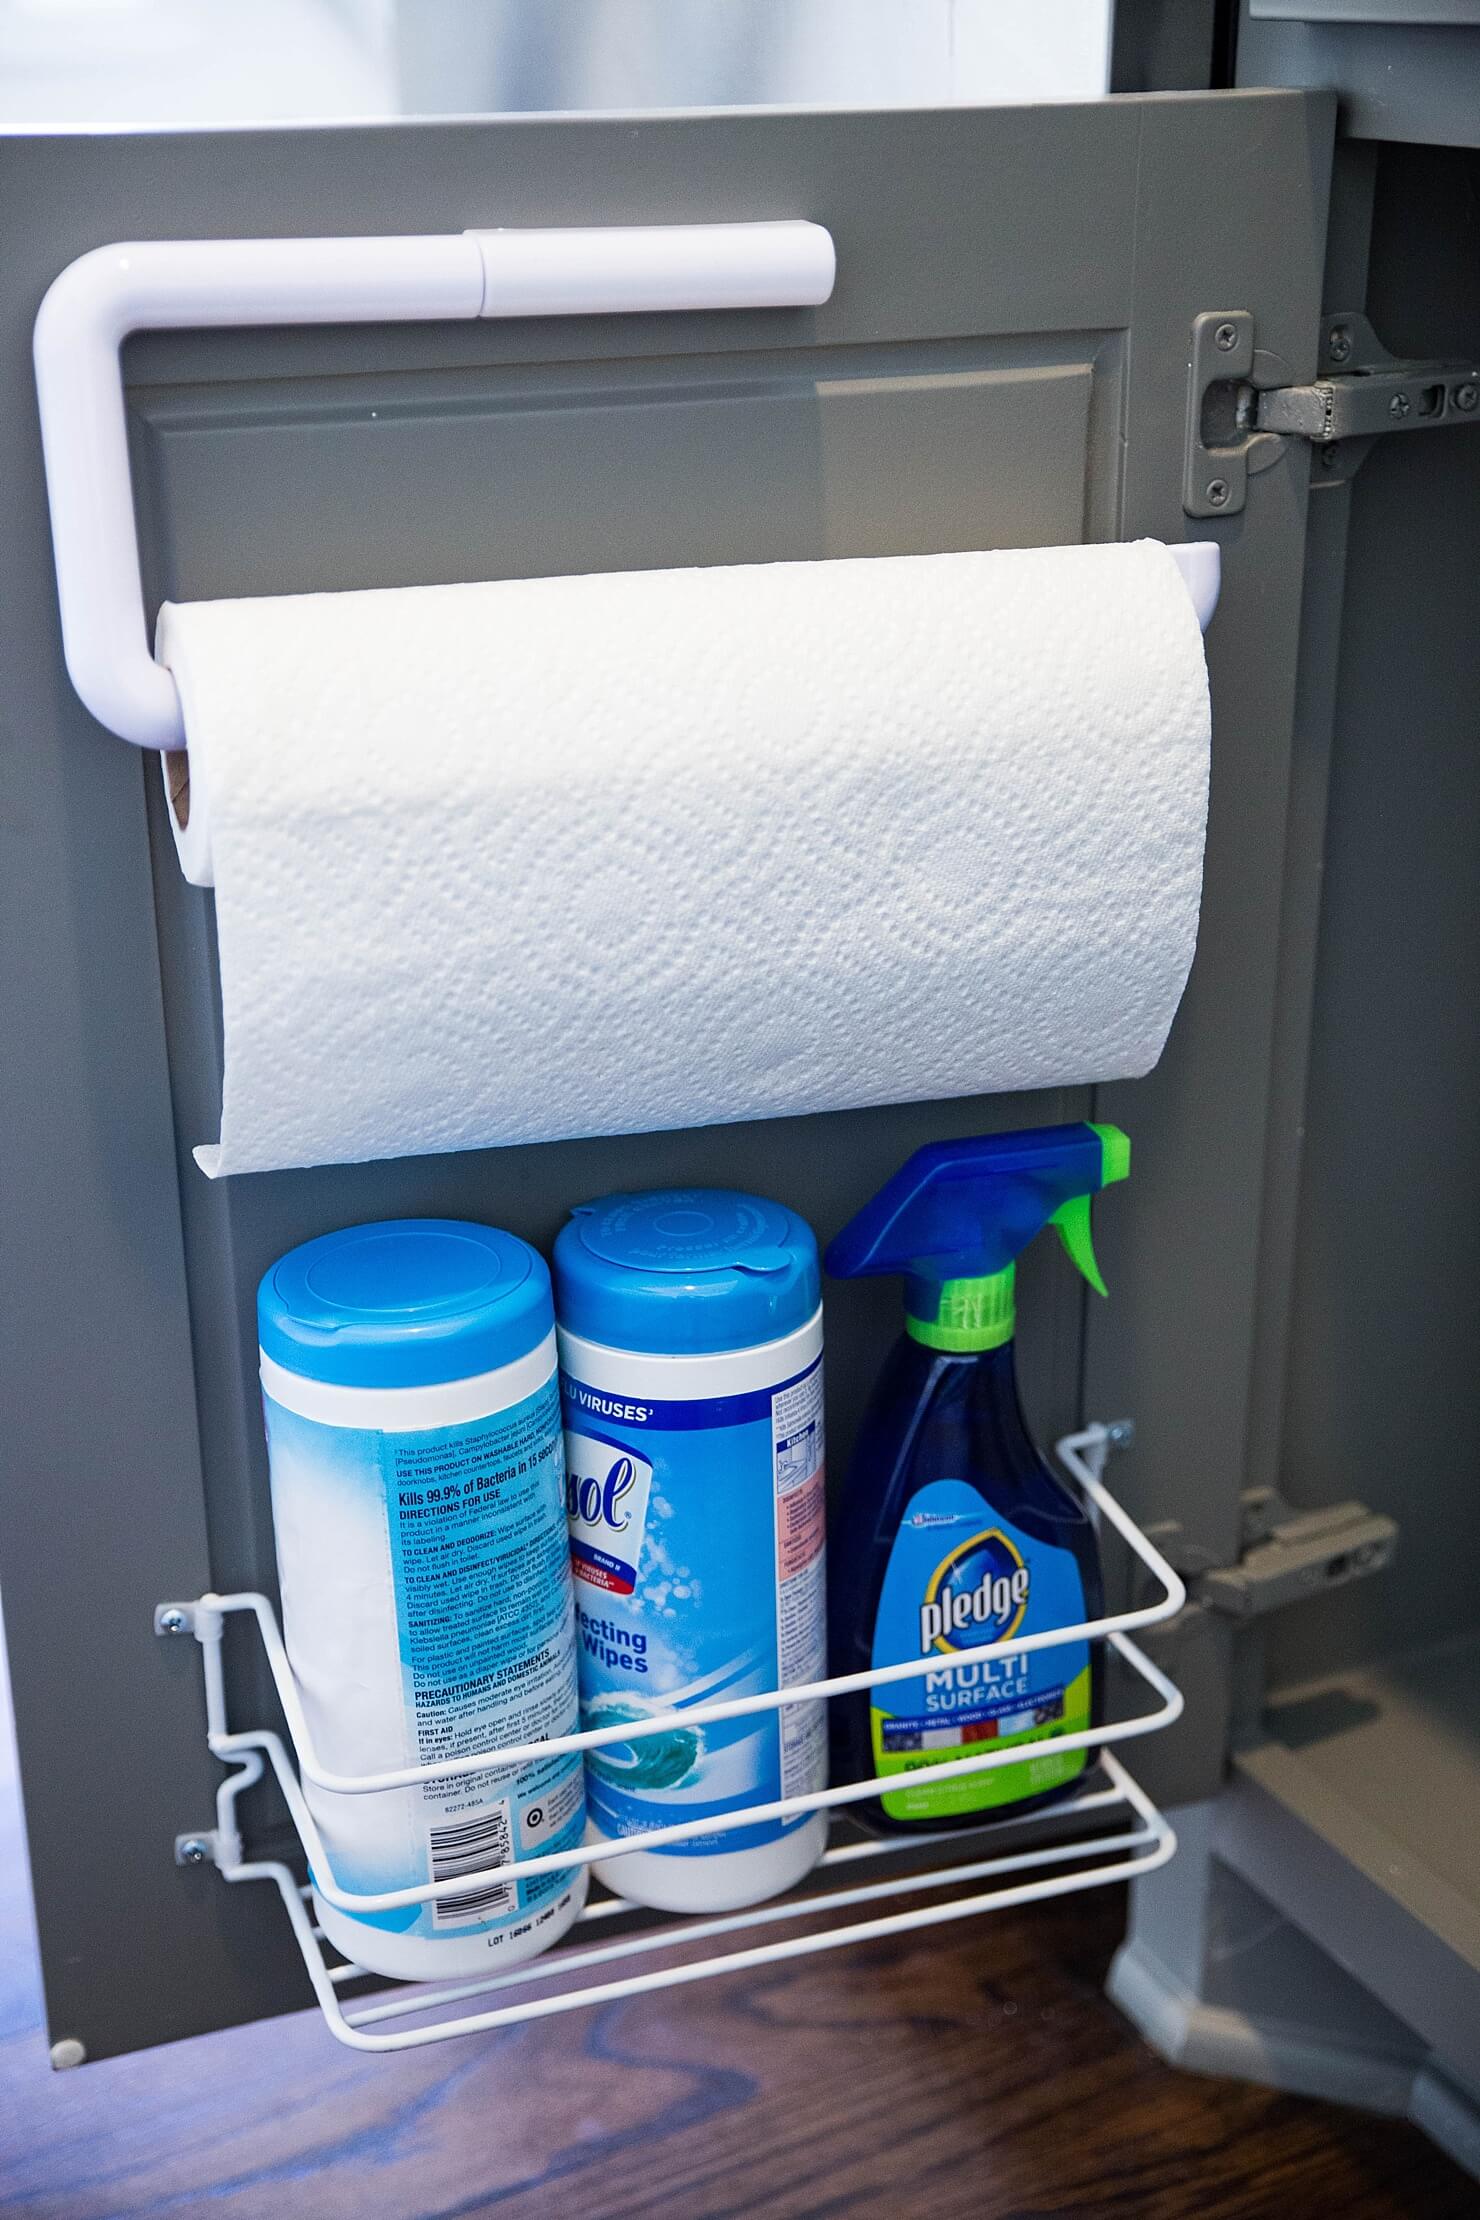
- Installed paper towel holders on both of my under-the-sink cabinet drawers to keep the counter as clean and clear as possible. It’s also easy access for everyday use.
- Put my dishwasher pods in a clear container so I could easily see when I was running out and needed to order more. Plus, it just looks nice and I like having a designated spot for them.
- Stored all the other miscellaneous items I use on a daily basis (soap-dispensing brush, all-purpose cleaner, dish soap, clorox wipes, etc.) in a small cabinet door hanging rack ($3.99).
General tips:
- Utilize Vertical Space – the vertical space w/ shelves, drawers or racks (stacking is key).
- Utilize The Doors – use door space for easy-to-access everyday stuff like dish brushes and dish soap and paper towels.
- Pair Down – only keep things here you actually use, so try to keep it as minimal as possible. If you have extra storage elsewhere for extra paper towers and other surplus stuff (that you’re not currently using), try not to store it under the sink in order to avoid clutter.
- Make it visible – make sure that everything is visible and easily identifiable. I hate having to rummage through the cabinet looking for Windex.
- Remove packaging – if you’re keeping anything under the sink that comes in packaging or in bulk, remove it and create your own storage solution. This lets you create more space in a way that works best for you.
- Keep things a few inches from pipes for safety reasons.
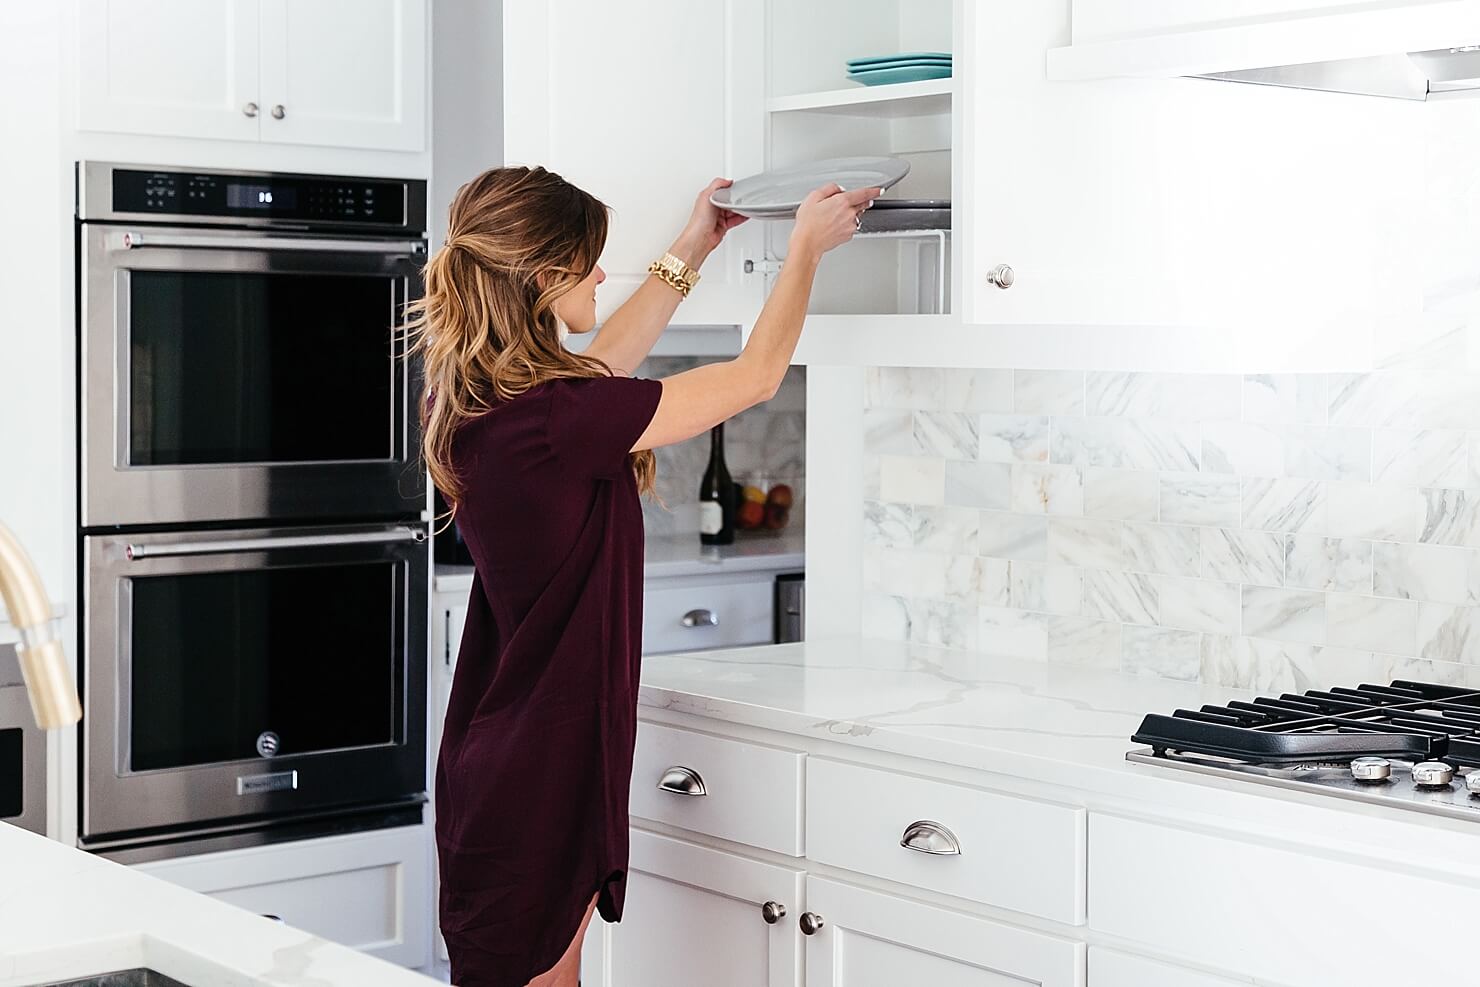
Zone 2: Everyday Stuff
ITEMS: everyday plates, bowls, basic glassware and cups, dishes and serving-ware
These are your everyday, good ole dishes that you use. Think water glasses, mugs, plates and bowls that are go to’s. In order to make your life easier find a cabinet close to the dishwasher or stove that you can easily access. That way unloading dishes is as hassle free and convenient as possible.
What I did:
For this “everyday area” it was important to me that I include/store as little as possible. Although I’m NOT a minimalist in any shape or form, I sort of went with this mentality here. To create a “literal” space for every single item, I got some of these dish racks to separate my larger and smaller-sized plates. If you do this for your cabinets, be sure to measure the height and depth of your cabinets so you can be sure to get the right ones for your space – there are a few different sizes available. You’ll always measure how tall your mugs and (double-stacked) bowls are.
General tips for this area:
- Consider placement – store everyday dishes by the dishwasher to make for easy unloading. Store regularly-used glasses next to the fridge if that’s where you get water from.
- Only put out what people in your home or a small get together would use. Store china or excess dishes in boxes in your garage and only bring them out when necessary. Avoid clutter here.
- Utilize vertical space
- Dish Organizing Rack – These things are great and avoid having too many plates and allow you to stack different sizes.
- Under-Shelf Basket for mugs or small plates – The racks come in different heights and widths, allowing for various different plate sizes to fit well within your cabinet.
- Or you could use Mug Hooks to hang mugs from underneath the shelf and get more out of your vertical space
- Avoid stacking plates too high – remember the functionality of where you place things.
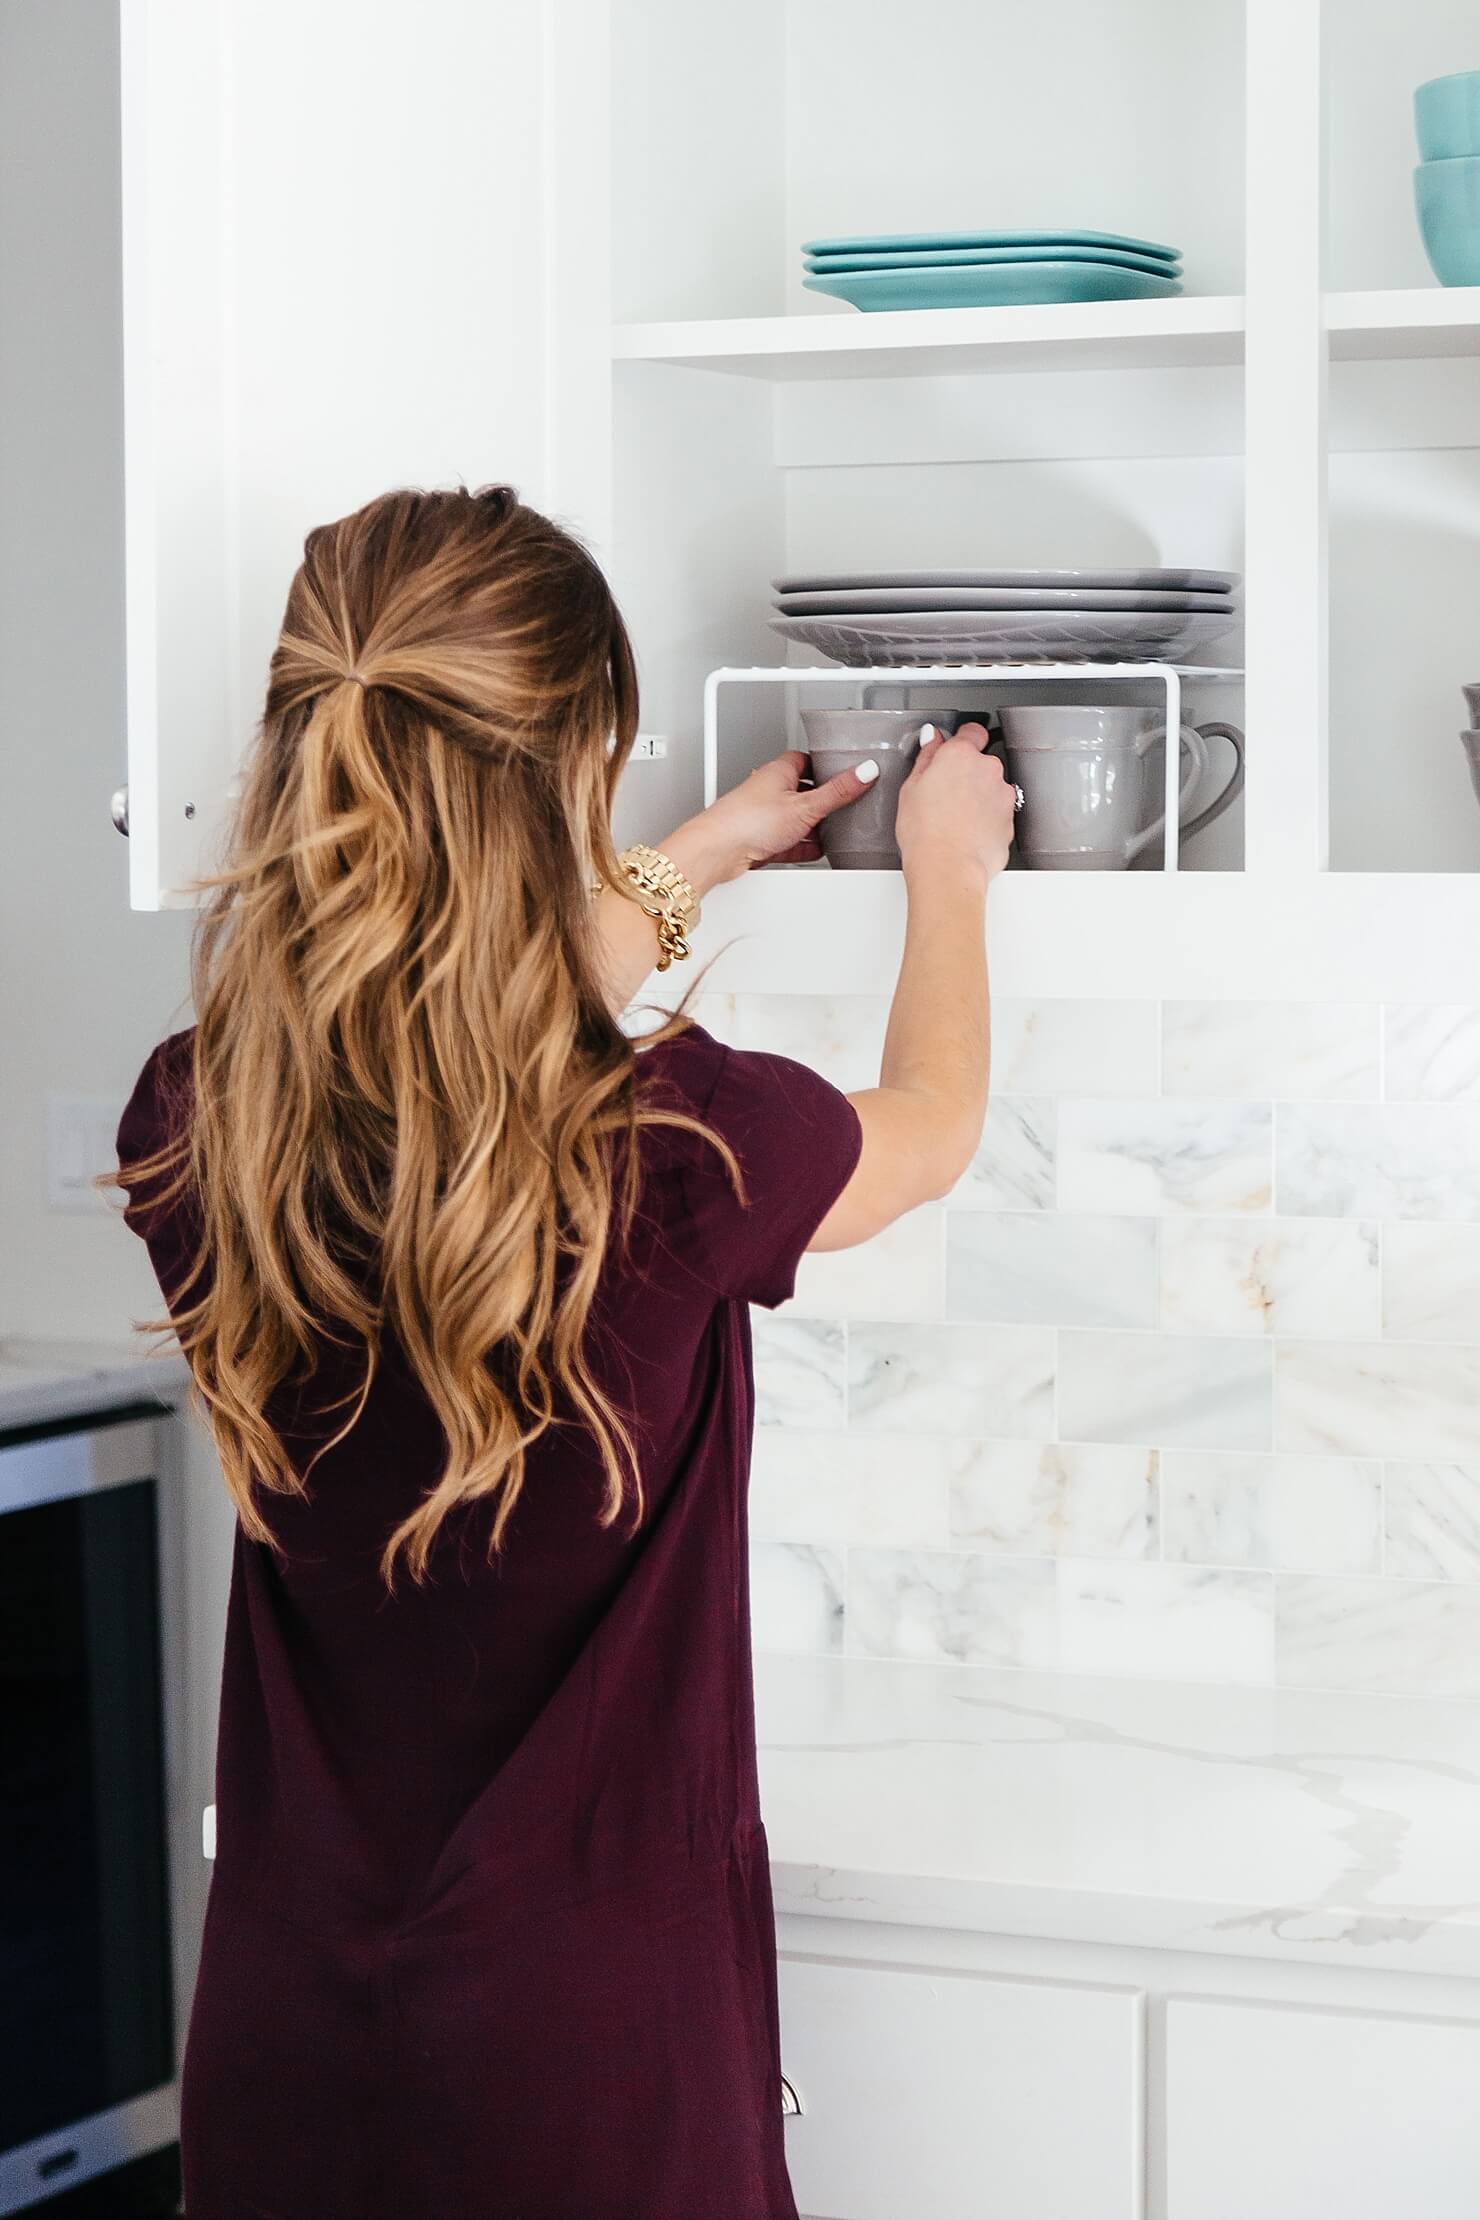
It also makes me REALLY happy that all my everyday wear stuff matches (well at least the grey ones). I got this grey set of 16 for a great price at Pottery Barn if anyone’s interested! And the silverware was a gift from my mom.
Zone 3: Coffee & Bar
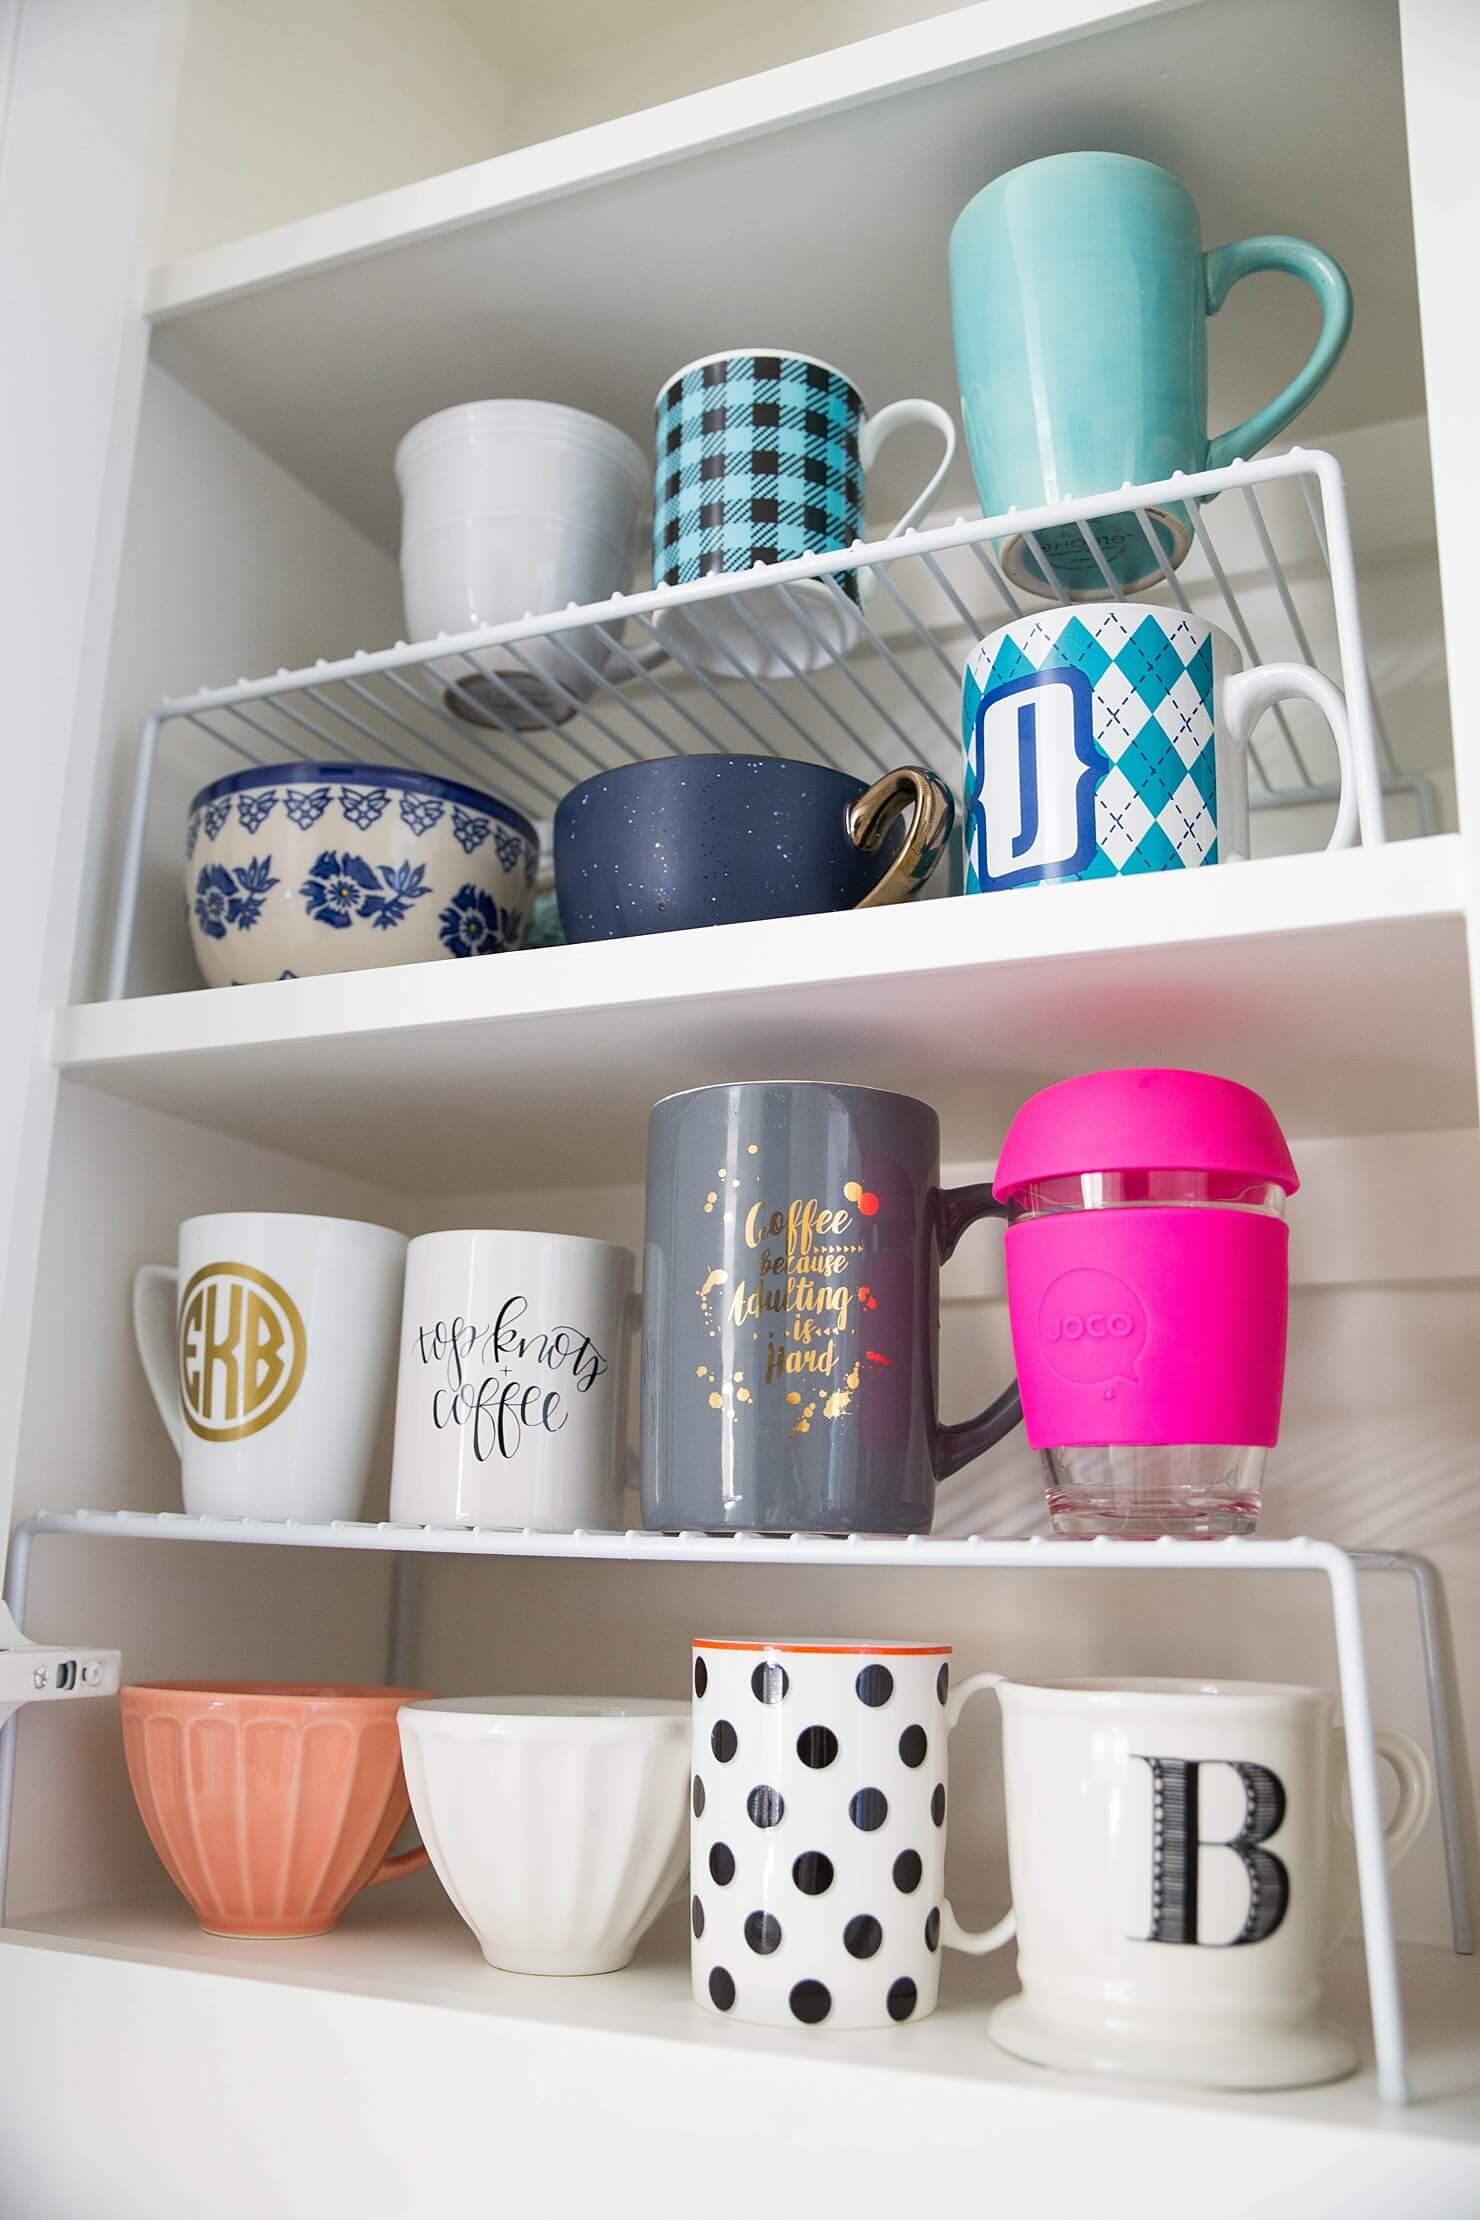
ITEMS: coffee, sugar, stirrer, mugs, K-cups, etc., wine fridge, mixers, bar things, special drink ware such as wine glasses, shot glasses, koozies, bar accessories, etc.
Make your coffee storage official. Whether you use coffee beans and grind them up yourself or subscribe to K-cups on Amazon, try and make a legitimate plate for your coffee so you’ll be more motivated to unpack and put it up each time you repurchase. Do the same thing with tea if you drink that. This is a great way to save time in the morning. You won’t have to worry about searching for sugar or caffeine while running 5 min late to work.
What I did:
I decided it was best to put my coffee and bar-ish stuff in the same spot. But that might not work for you. Regardless, it will be nice and easier to keep organized if you have a designated space to put all of your bar tools and glassware together.
Plus, having a neat and organized “bar space” will be really nice for entertaining. I’ve been to several hosted parties where you can’t find the bar opener slash spend a little too much time for comfort rummaging through their kitchen. Make it easy on your guests having these two drink stations easily accessible will make you the hostess of the year.
General tips for this area:
- Determine Your Space – take your measurements to figure out what storage is best for you.
- K-Cup Organizer – I bought a wooden one ($32) to go in the drawer below the keurig and I LOVE it (and so do my roomies! hehe). It’s so easy to keep my different flavors organized and I can clearly see when I am running low on a certain kind.
- Tea organizer – This is great for drawers (just remove the lid) or cabinets.
- I used dish-stacking cabinet organizers so I could fit extra coffee mugs in the vertical space. It helps get more out of the space we’ve got since the coffee mugs are all so short!

Zone 4: Accessories & Storage
ITEMS: reusable containers (Tupperware), food wrap, Ziploc bags, tin foil, water bottles, to-go cups
What I did:
Since regular glassware is in Zone 2, any accessory cups made sense here. They don’t necessarily need to be by your everyday items and can clutter that area, so any accessory-type items should have their own designated area. This is also the area for Tupperware and other storage items. I used a cabinet for taller things like water bottles, but drawers for storage items in boxes (like foil), and Tupperware so that I could see everything easier. For our Tupperware, I decided that having a large drawer made the most sense. I didn’t love any of the organizational ideas that I found, so having enough space to sort through Tupperware and actually stack them was key – but I’ll provide more ideas if that’s not your thing.
General tips for this area:
- Get some in-drawer or cabinet organizers for your tupperware – Adjustable storage organizer for tupperware allow you to neatly store tops and bottoms of your sets. If you want to separate yours, this is a great option. Also, I got this lid organizer from BB&B that I’m really enjoying so far!
- Pare down – do you really need all those mixing bowls and tupperware? It’d be nice to have mixing bowls and tupperware that all stacked nicely. Maybe consider buying a new set? or at least paring down so you can neatly store it all. You probably don’t need as much as you have – especially if it’s a big, hot mess of a pile!
- Make sure it fits – if you’re buying bulk tin foil or something like that, make sure it’ll fit in your drawers first, since drawers really are the easiest place for these – unless you’re going to use a cabinet door shelf (similar to what I did under sink). Take your measurements to the grocery store and be that crazy person (that was me!).
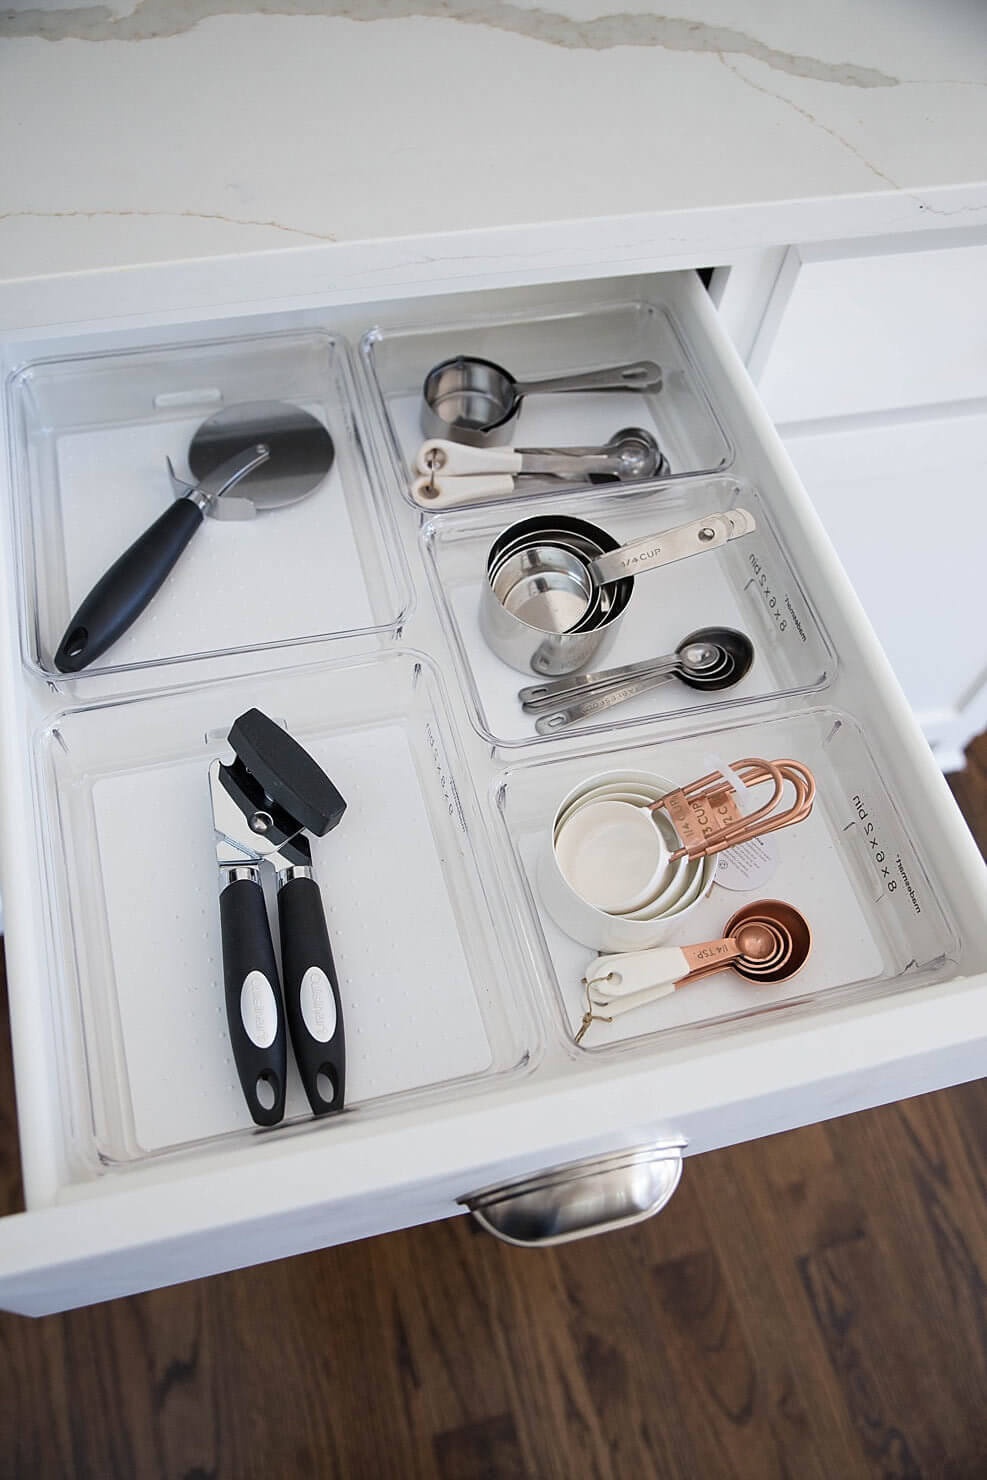
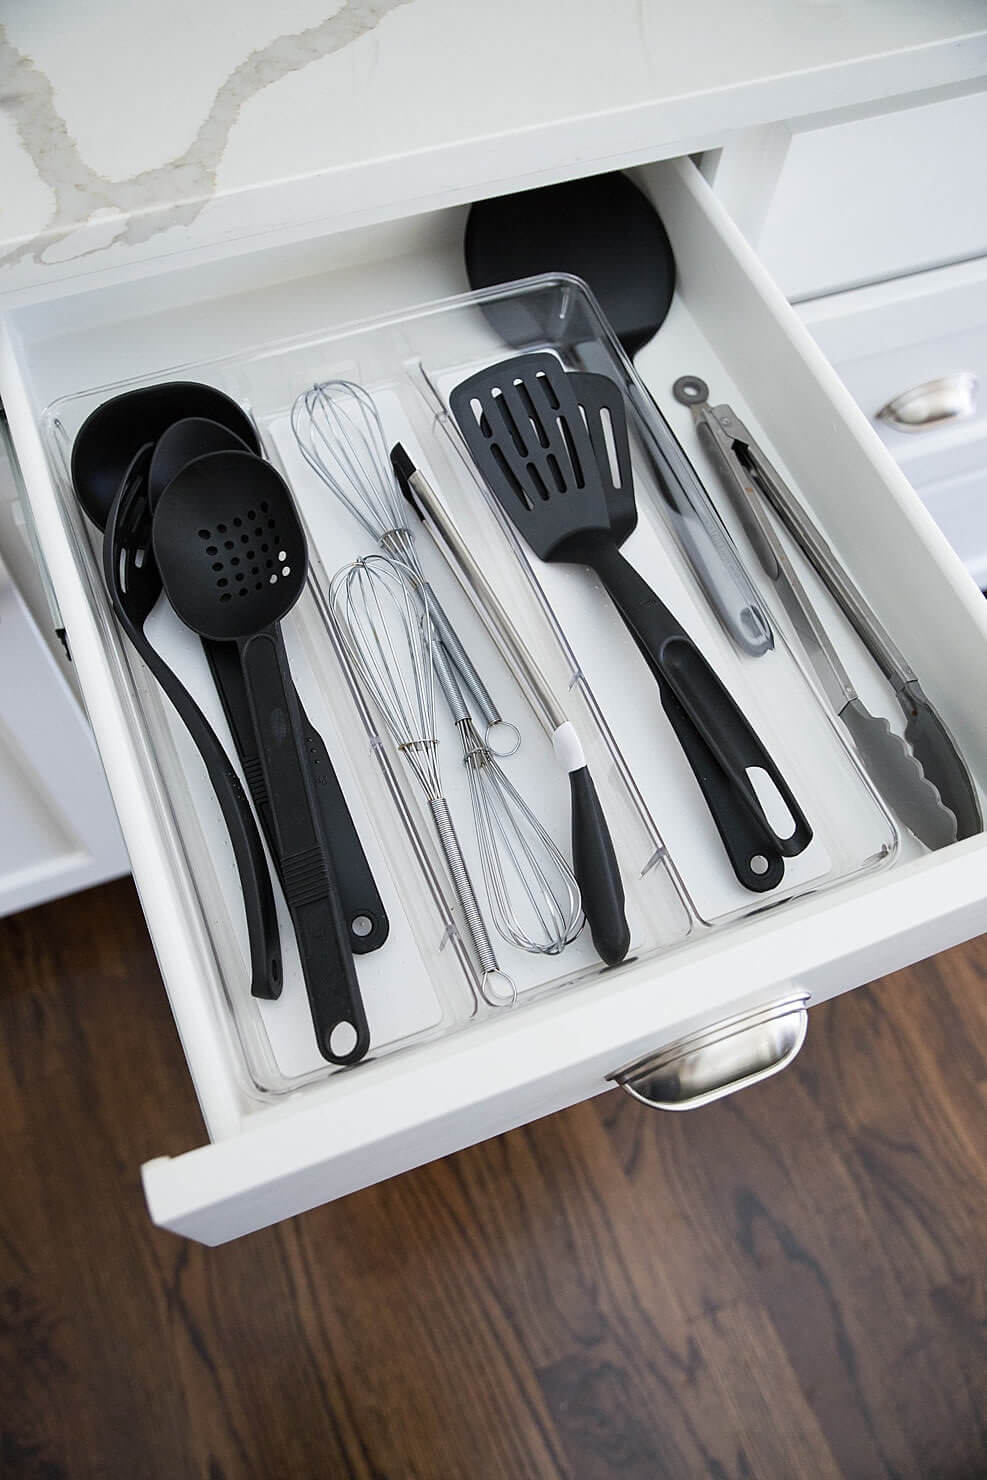
Zone 5: Cooking Stuff
ITEMS: pots, pants, spices, nonstick spray, spatulas, cutting boards, knives, bread pans, measuring cups, measuring spoons, mixing bowls
This is the stuff that will be easily accessible to me while cooking – aka near my stovetop. Keep things easy to grab and easy to put back – and make sure there’s a designated spot for every single thing you’re going to store in this area.
What I did:
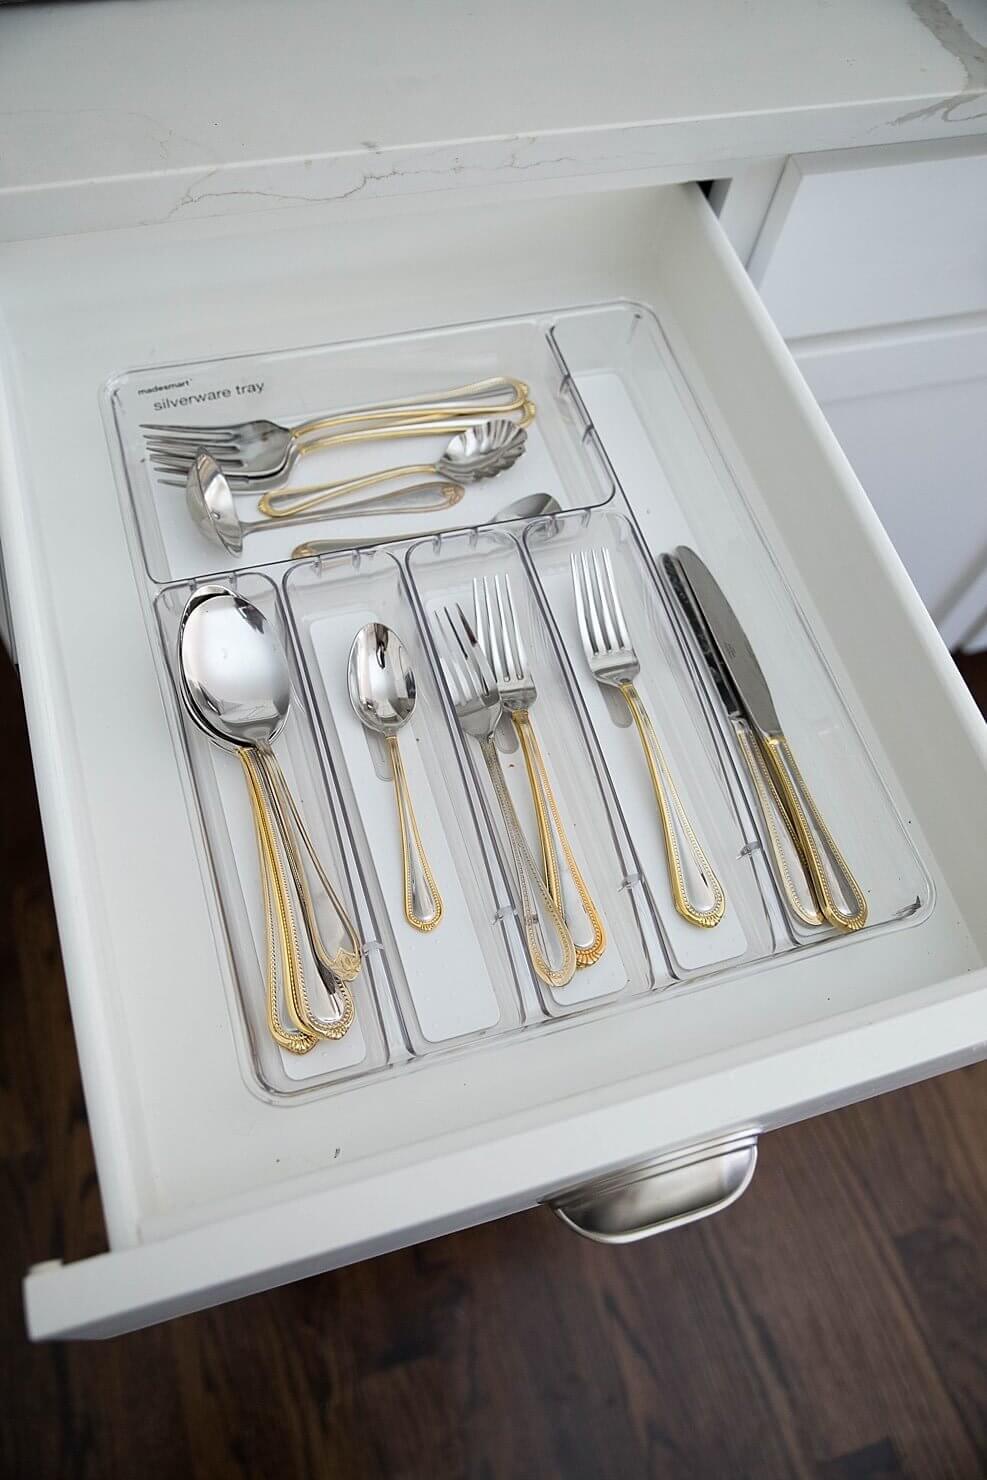
I got lucky in the fact that there were some built-in storage areas for things like cutting boards, but when there wasn’t, I bought a bunch of drawer organizers. No more messy drawers filled with measuring spoons and spatulas all tangled up, am I right? I basically gave each item a home, spaced things out, and organized the crap out of every area.
- All longer items (like spatulas etc.) went in a drawer with tall things. I used the long ones by “MadeSmart”; you can either get them at Bed, Bath & Beyond (although they didn’t have the white color available IN the actual store – you need to order online) OR The Container Store.
- All wider items (cups, pizza cutter) went in a drawer together. Grouping by size helped when buying organizers, and it’s helpful when I’m remembering where something is. I also the “MadeSmart” organizers for this as well – but obviously in a different size.
- Put all circular pots and pans together, and then same with square ones.
- I Bought a freakin’ (in drawer) knife organizer, y’all! And I love it. Since I had the extra space, I went with the in-drawer one as opposed to the counter block because I’m OCD about having a clear counter (#dontjudge)
General tips for this area:
- Try to find an area where you can place pot lids on the actual pot while being stored. If you can’t, something like this is a great idea.
- Limit stacking cutting boards and baking sheets if at all possible, because it’ll be a lot easier to find and you can actually fit more. Standing Dividers are so convenient for separating out baking sheets and cooling racks.
- Spice Rack – you can put this anywhere but I recommend having it closest to where you are cooking. You can organize your spices on a shelf, swivel, or magnetic strips in order to neatly keep your spices. Love this and this too if you don’t want to swivel, lulz.

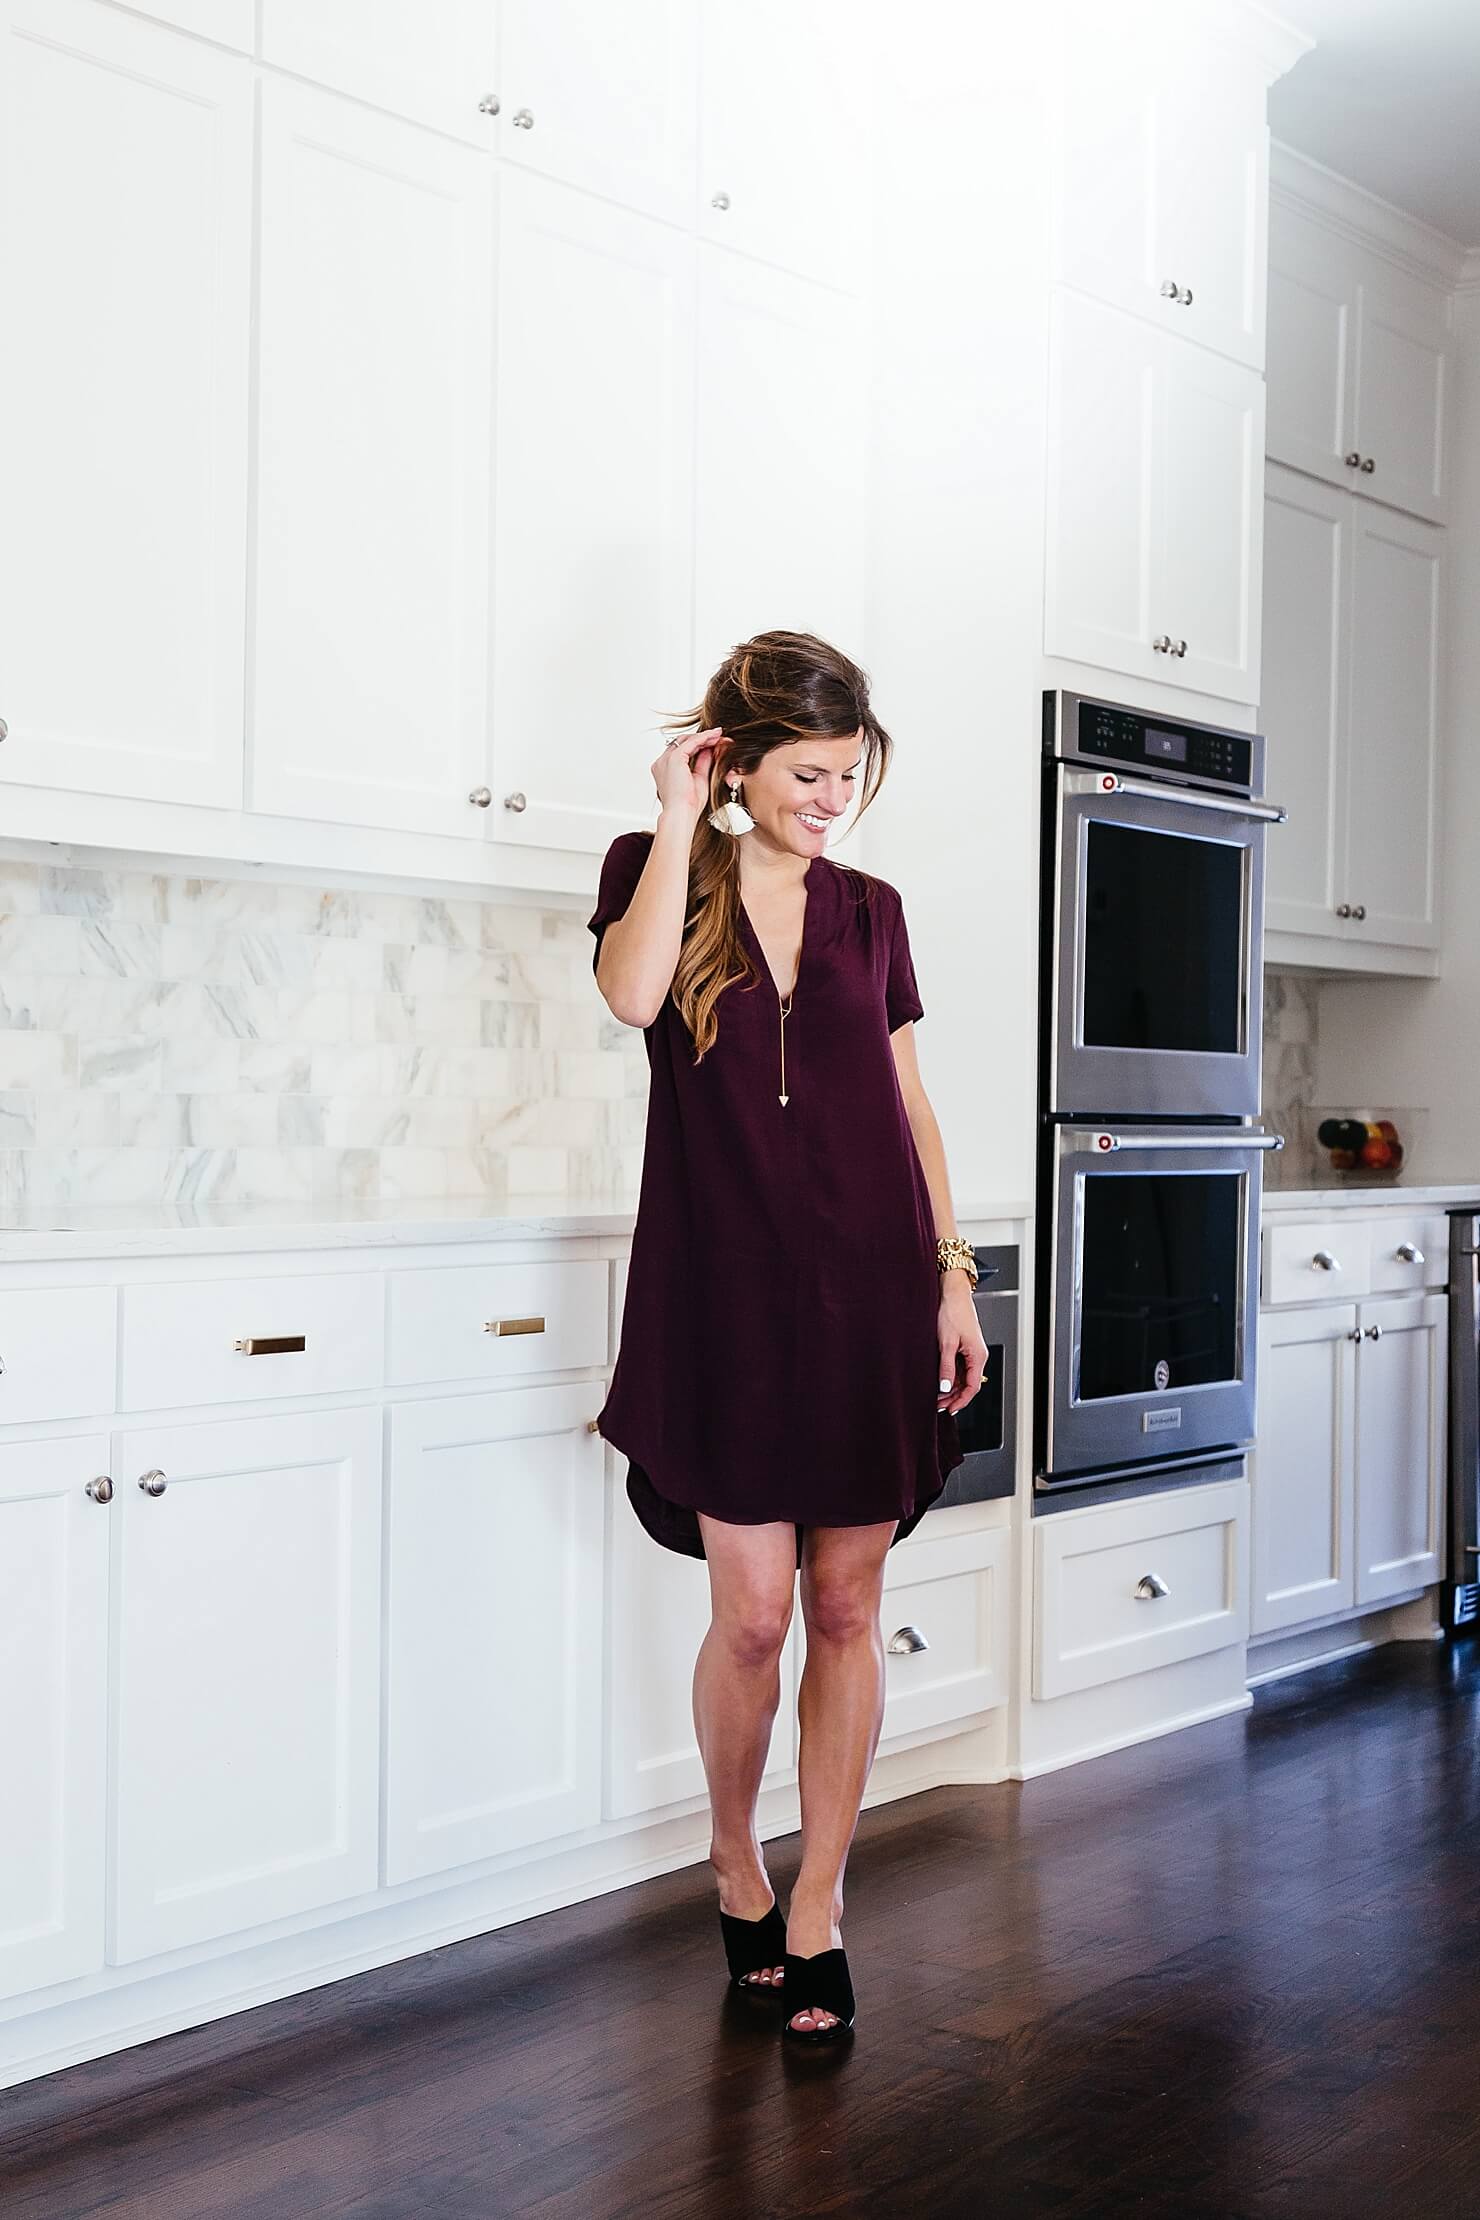
Outfit Details: Shirt Dress (wearing size XS) // Gorjana Mika Lariat // Mia Tassel Earrings ($42) // Marc Fisher Rinna Criss-Cross Slide Ons

OMG. DONE. WHAT DID YOU THINK?
ok WOW. THAT was A LOT you guys.
This post was a shoot ton of work but I hope it was helpful to some of you?! I’d love to hear your feedback and what you thought?! Or maybe I missed something and you’ve got some valuable content or suggestions to add to the topic via the comments! share what you got, people! Can’t WAIT to hear from y’all!
Brighton Your Day
Get exclusive content, sale items, and lots of fun stuff, straight to your inbox!
Share Story:
Join the Conversation
0 / View All